We will remove the old cabinets, appliances, countertops, vinyl flooring, pantry, and dropped ceiling. A new pass-through will open the kitchen toward the family room, and the unused doorway will be closed to create a more useful wall.
Kitchen Remodeling · Kirkland, Washington
Kitchen Remodel in Kirkland, WA
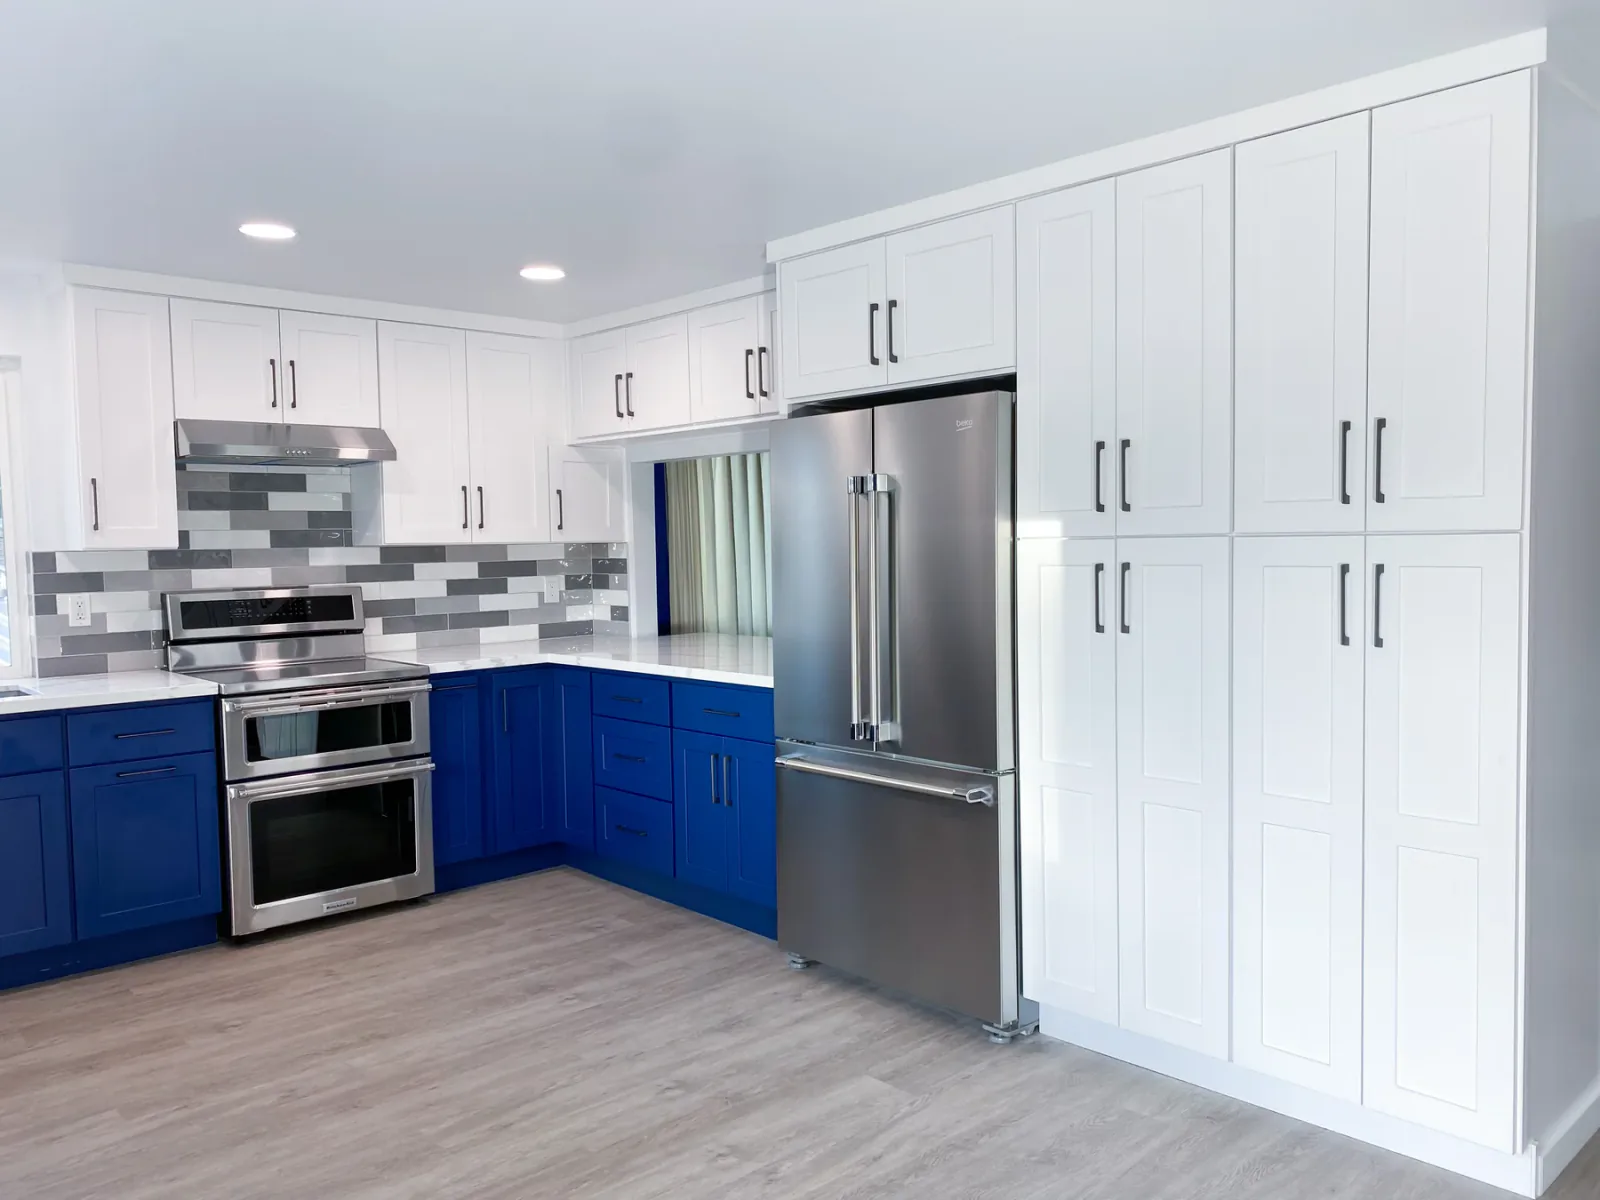
Opening a pass-through to the family room and removing the dropped ceiling gave this Kirkland kitchen a brighter, more connected foundation for two-tone cabinetry, full-height pantry storage, new work surfaces, and light LVP flooring.
01
Project Plan & Scope
Creating a Brighter, Better-Connected Kitchen
For this kitchen remodel in Kirkland, we will improve the room’s connection to the family room, make better use of its storage walls, and rebuild the finishes and utilities around a clean two-tone design.
With the room open, we will upgrade the electrical and plumbing rough-ins for the new arrangement. We will coordinate the work behind the walls before the kitchen moves into drywall and finish preparation.
We will hang new drywall and apply wall texture, primer, and paint to create a clean shell around the revised openings. Light LVP flooring will replace the old vinyl and give the kitchen a durable, continuous base.
We will install blue and white cabinetry, a full-height pantry, new countertops, a tiled backsplash, an updated sink, and stainless appliances to bring storage and function back into the remodeled space.
02
Before · Existing Conditions
The Kitchen Before the Remodel
Four existing-condition photographs show the old layout, cooking wall, cabinetry, refrigerator area, pantry, and adjacent doorway before demolition.
Before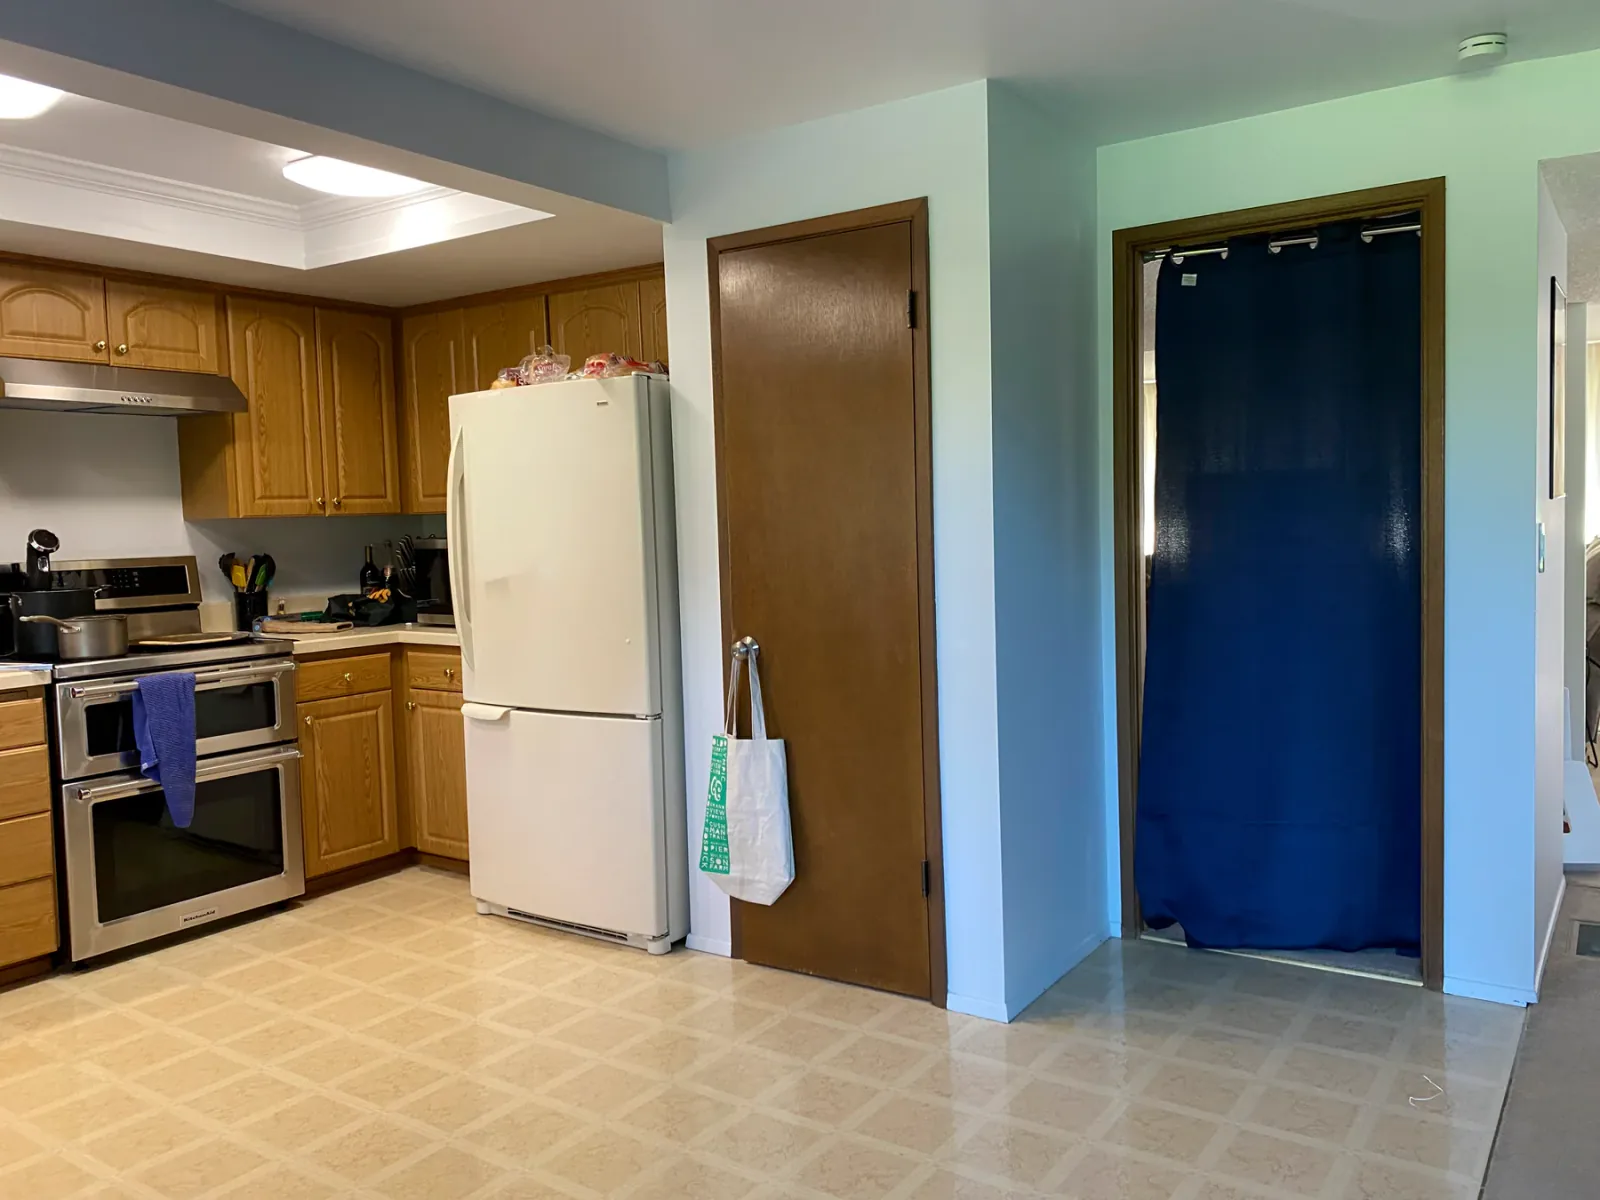 Old Kitchen Overview
Old Kitchen OverviewBefore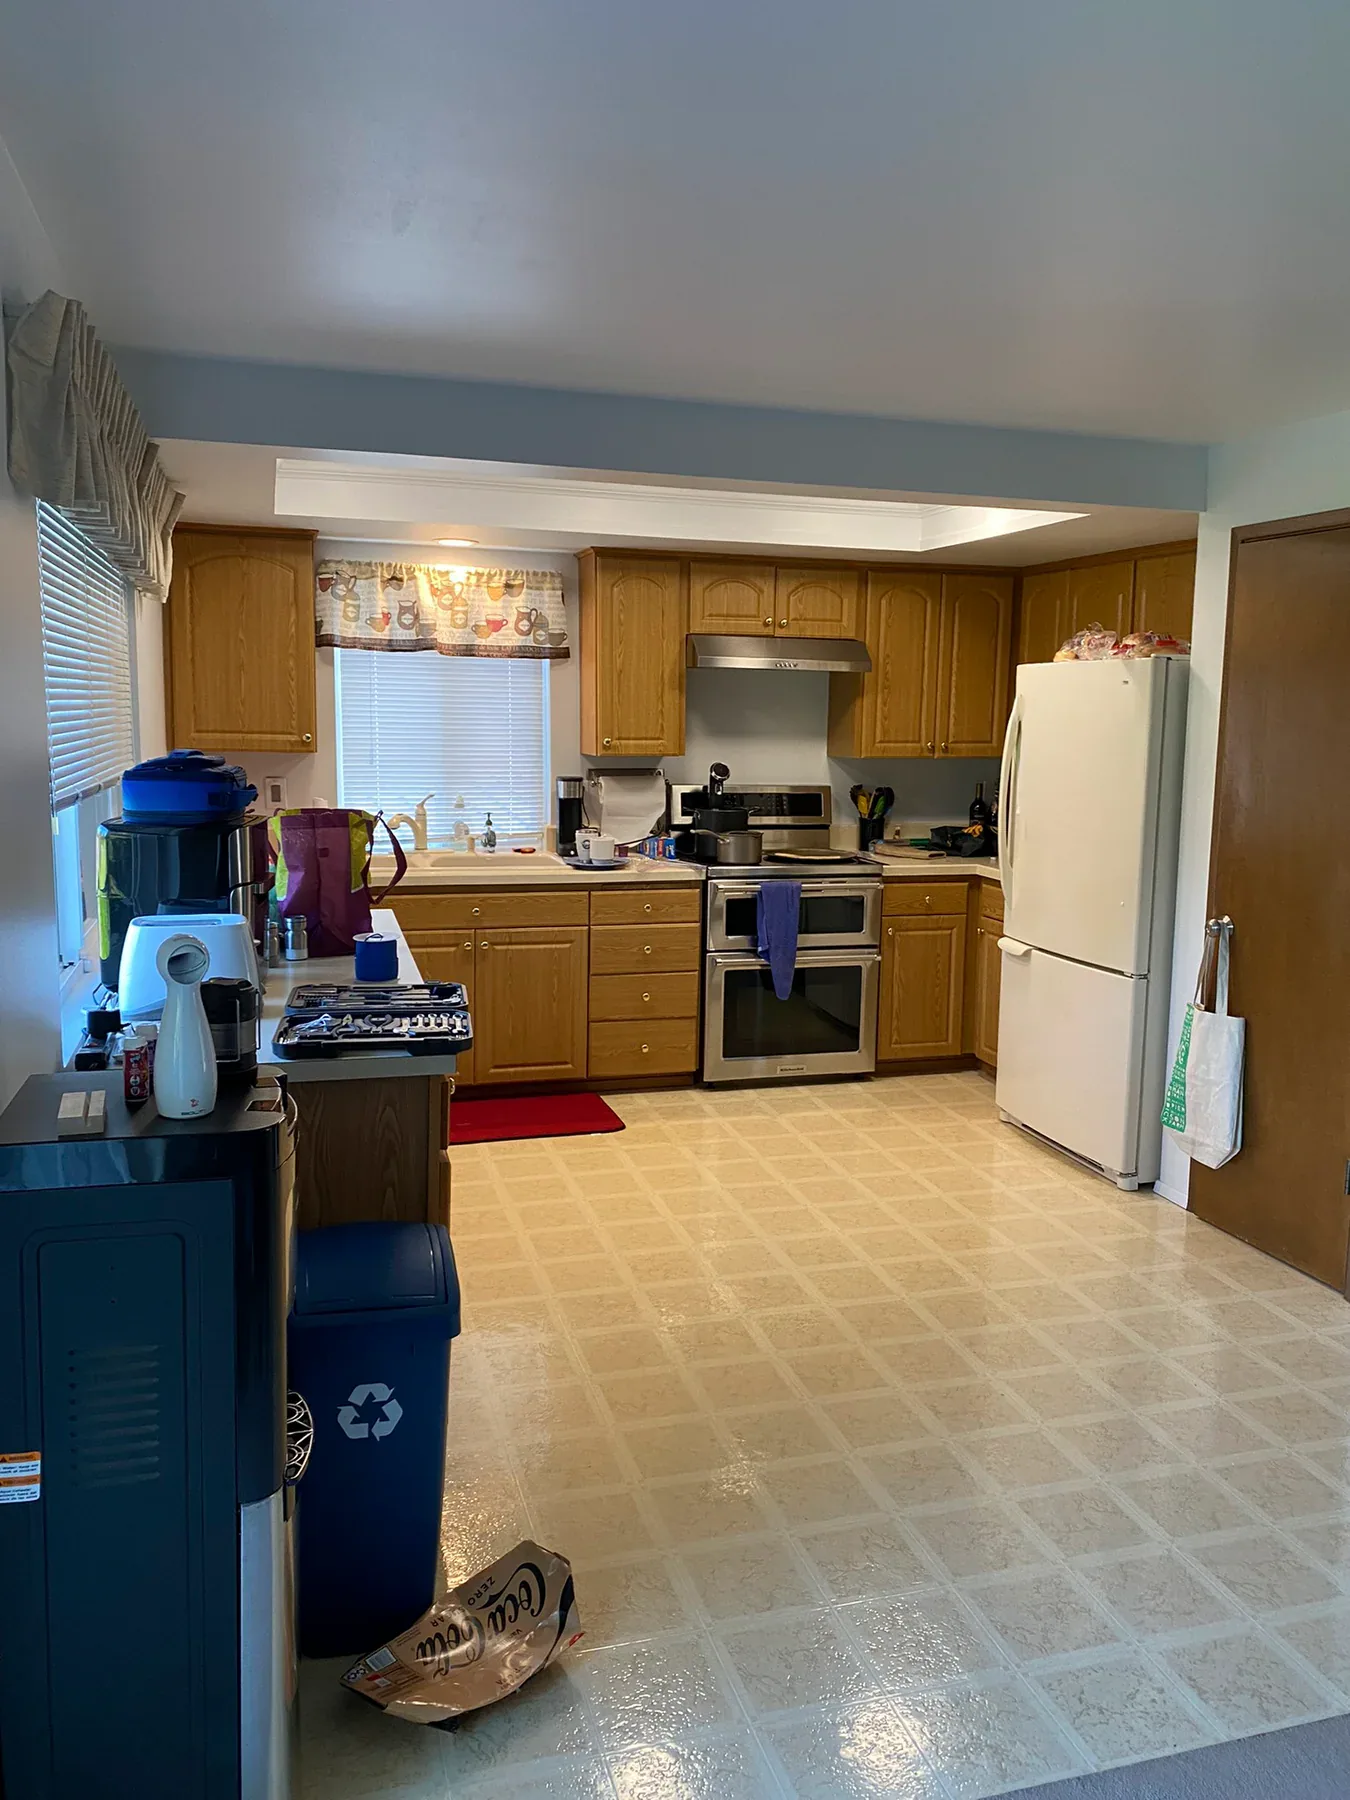 Old Cooking Wall
Old Cooking WallBefore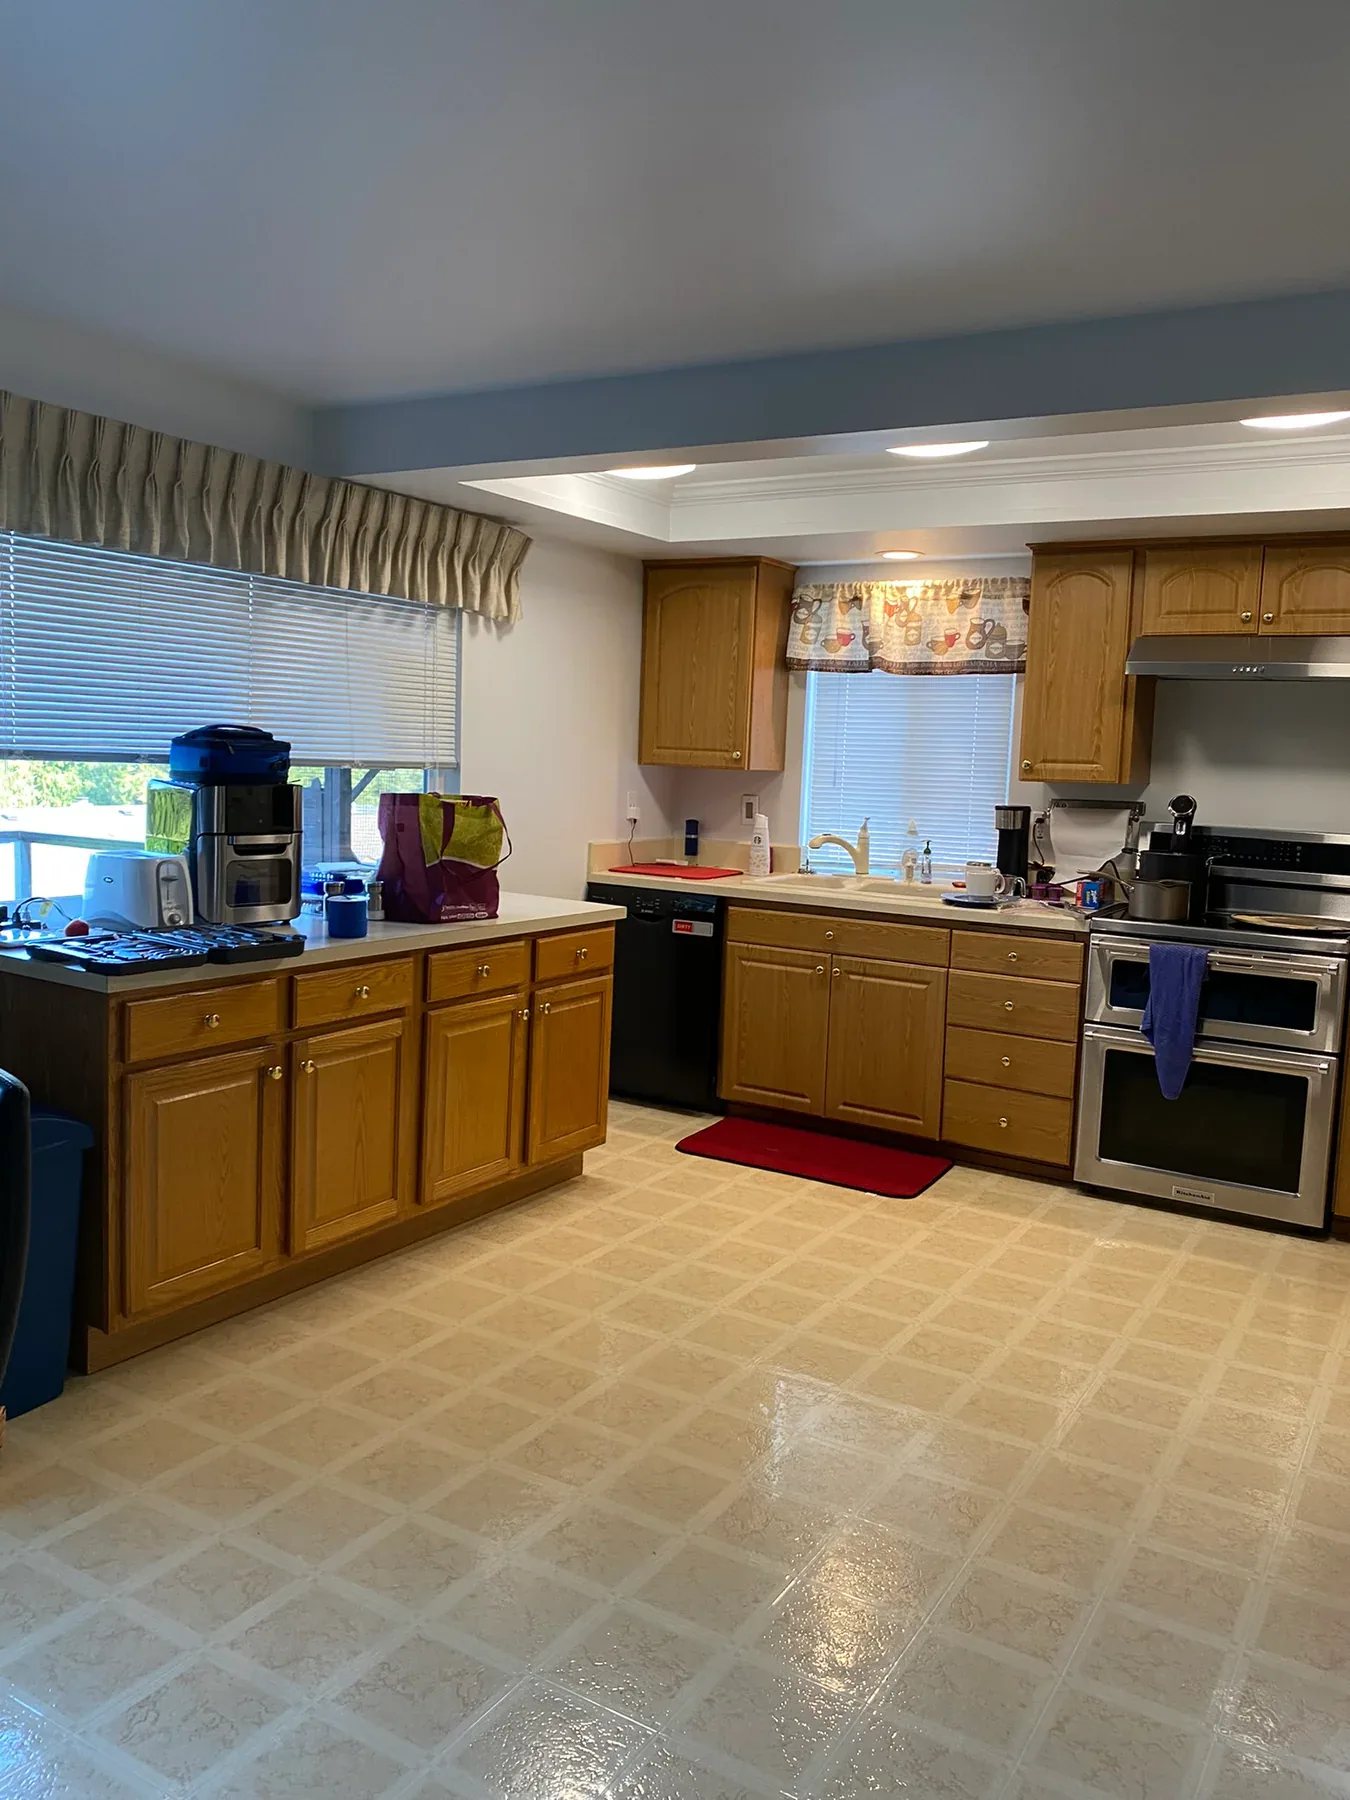 Old Cabinetry & Cooking Area
Old Cabinetry & Cooking AreaBefore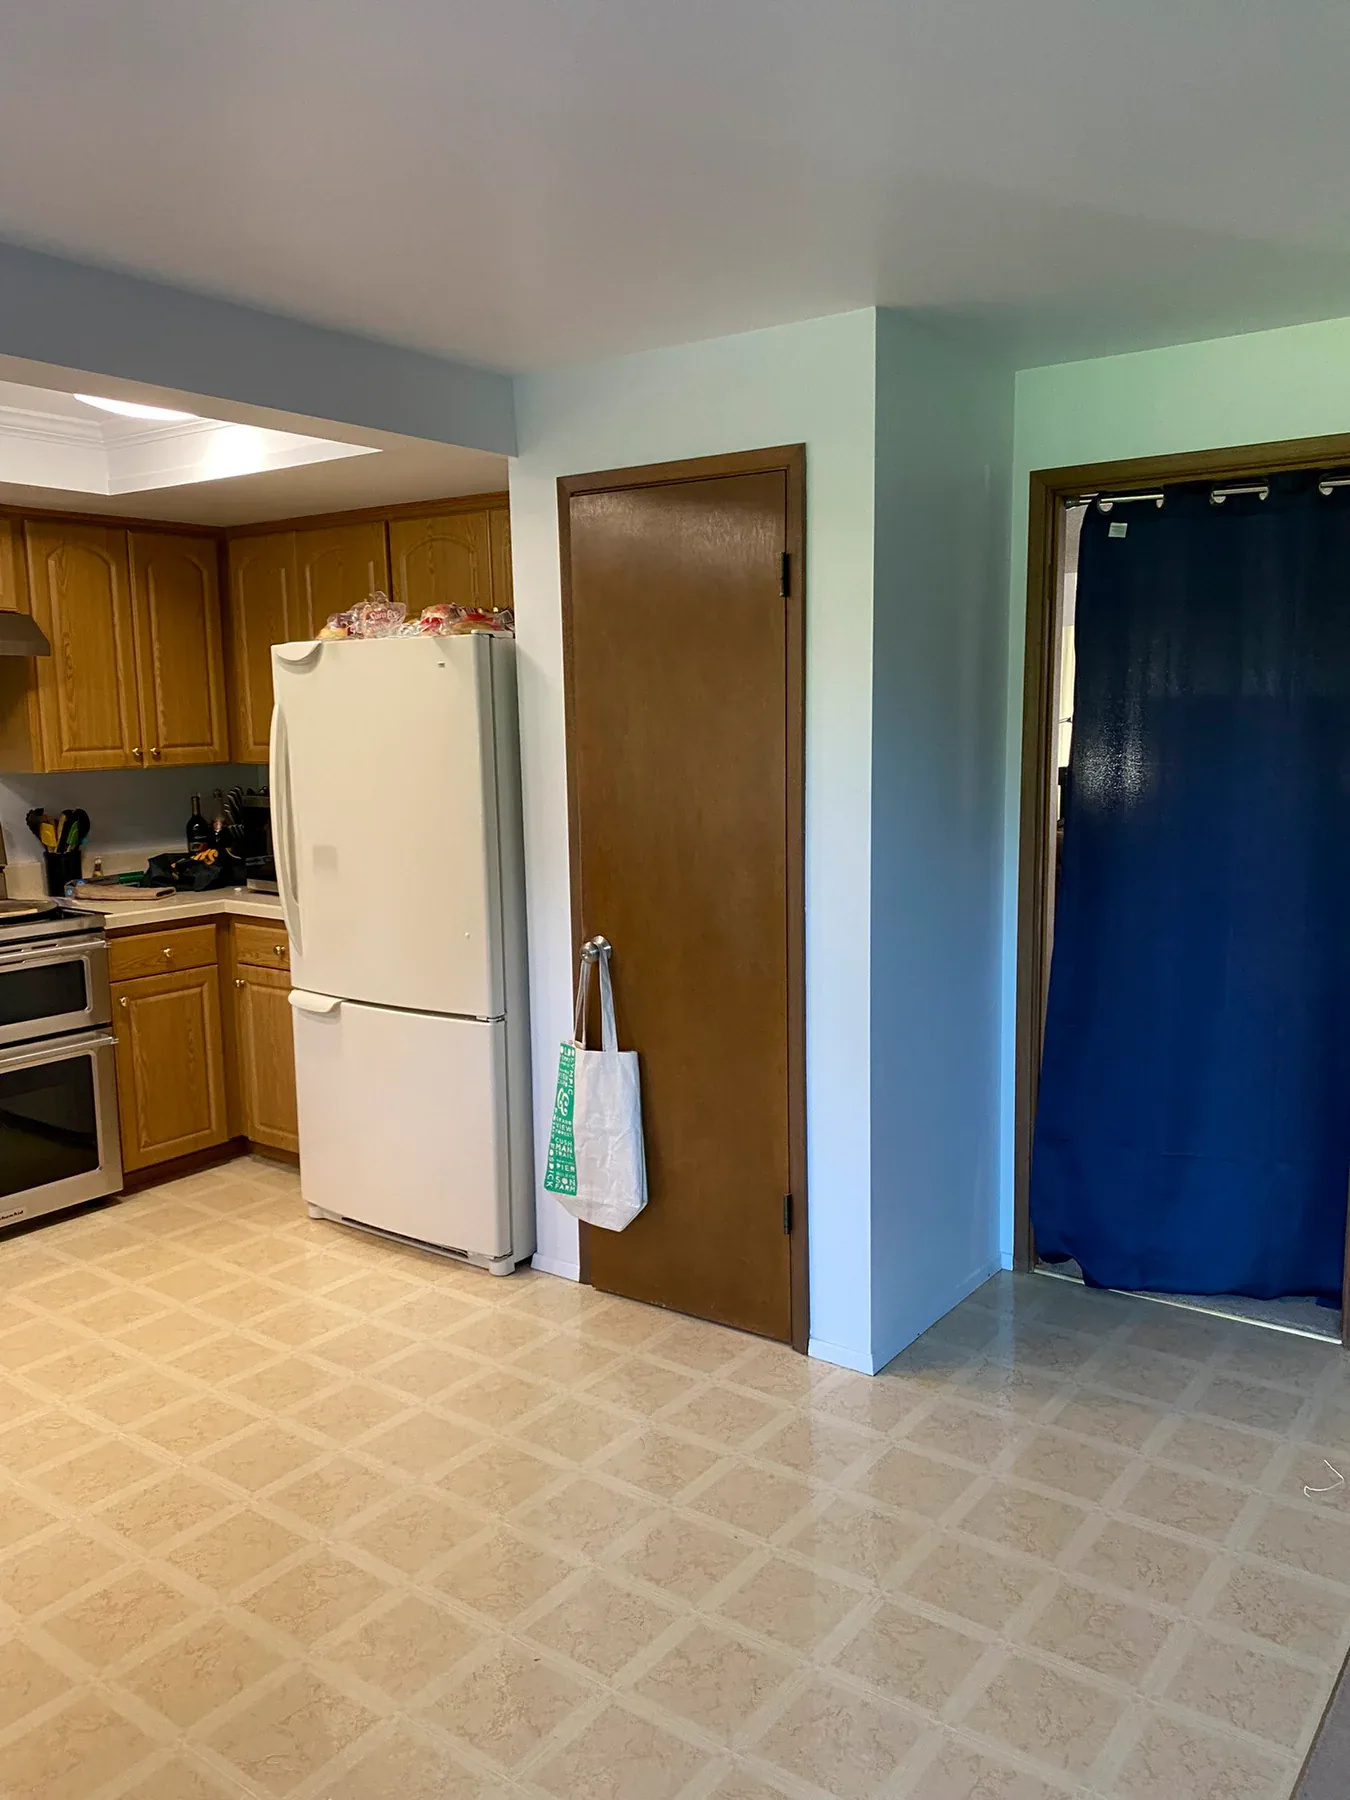 Old Refrigerator, Pantry & Entry
Old Refrigerator, Pantry & Entry03
Remodeling Process
Opening and Rebuilding the Kitchen
The construction story moves from demolition through the new pass-through, closed doorway, upgraded utilities, drywall, and surface preparation before arriving at the first completed view.
Before
Before · Original Condition
The Old Kitchen
The original kitchen sat closed off from the family room, with older cabinetry, vinyl flooring, a pantry, and a dropped ceiling that dated the room and limited its storage.
During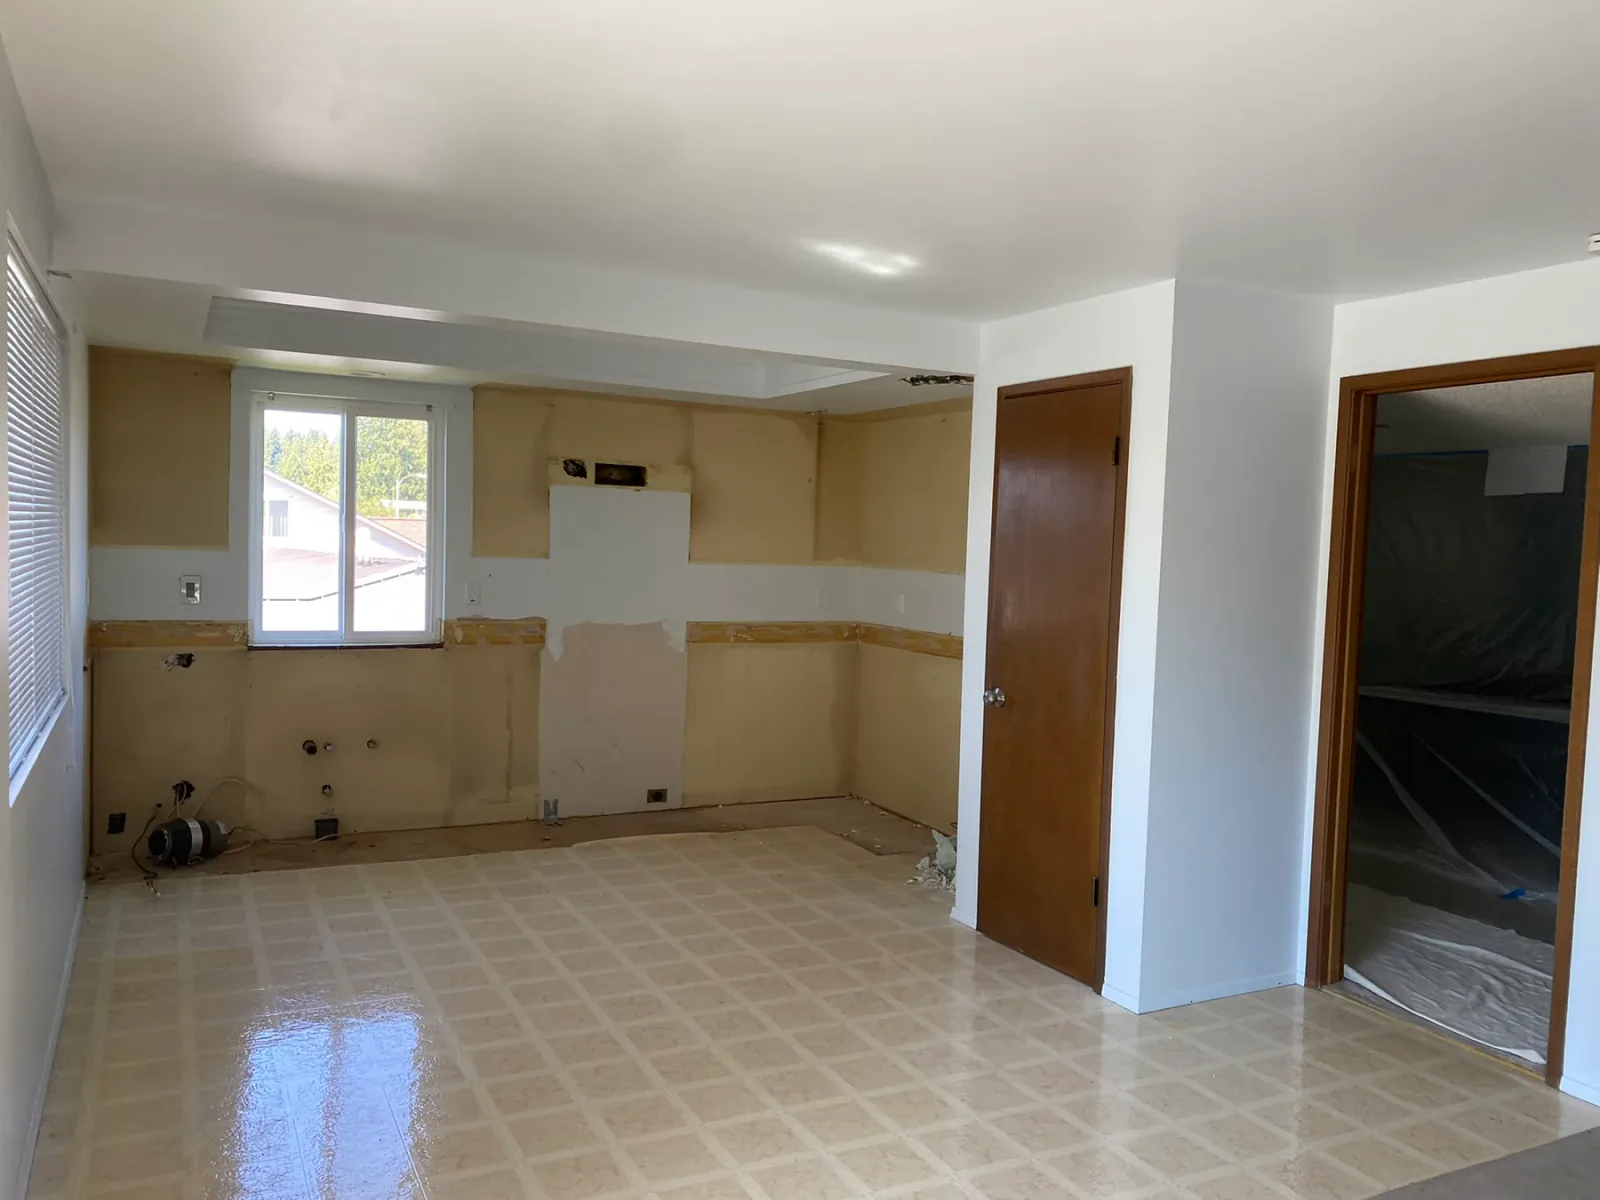 Initial Demolition & Space Prep
Initial Demolition & Space PrepDuring · Initial Demolition
Clearing the Old Kitchen
The appliances, cabinetry, countertops, vinyl flooring, pantry, and dropped ceiling came out first. With those layers removed, the room was ready for the pass-through opening and the revised wall layout.
Closing the extra doorway recovered usable wall space, while the new opening established a direct connection between the kitchen and family room.
During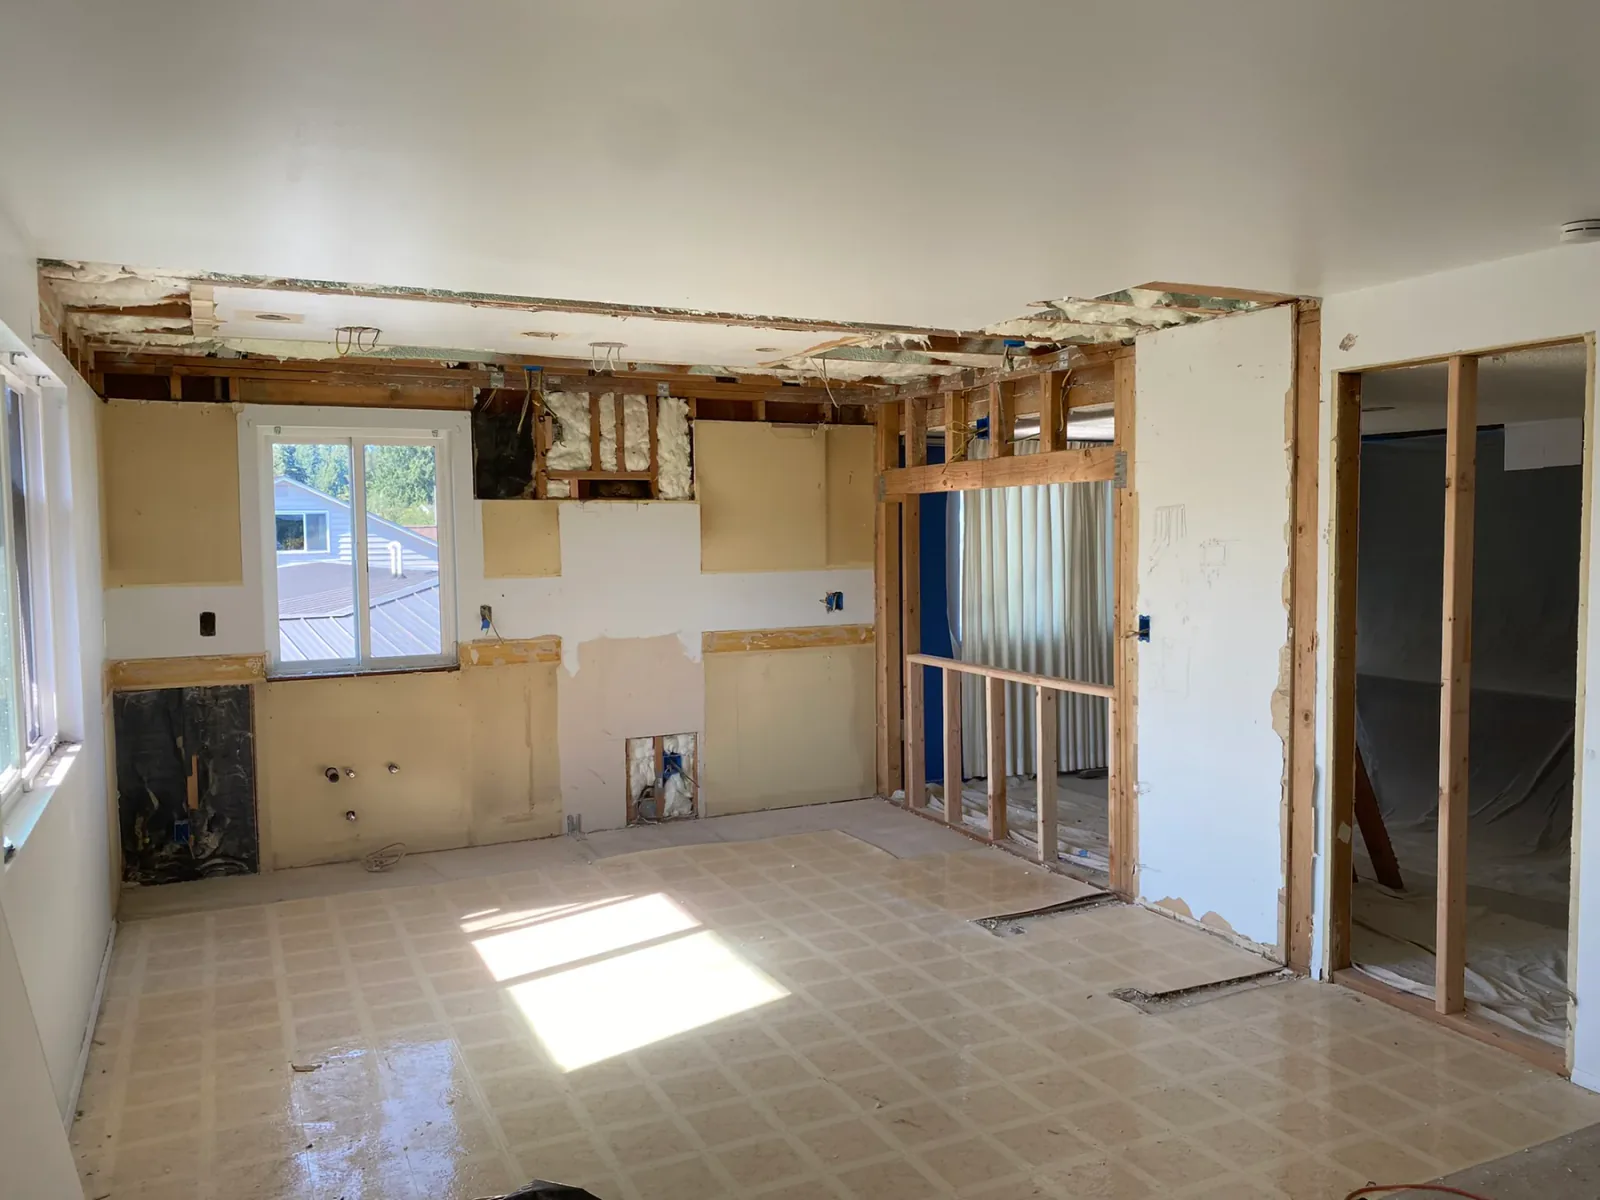 Structural Work in Progress
Structural Work in ProgressDuring · Layout & Framing
The New Connections Take Shape
Removing the dropped ceiling gave the kitchen more height, and taking out the small pantry opened additional floor area. Framing defined the family-room pass-through and the newly closed doorway before the work moved behind the walls.
The exposed room also made space for upgraded electrical wiring and plumbing lines to follow the new kitchen arrangement.
During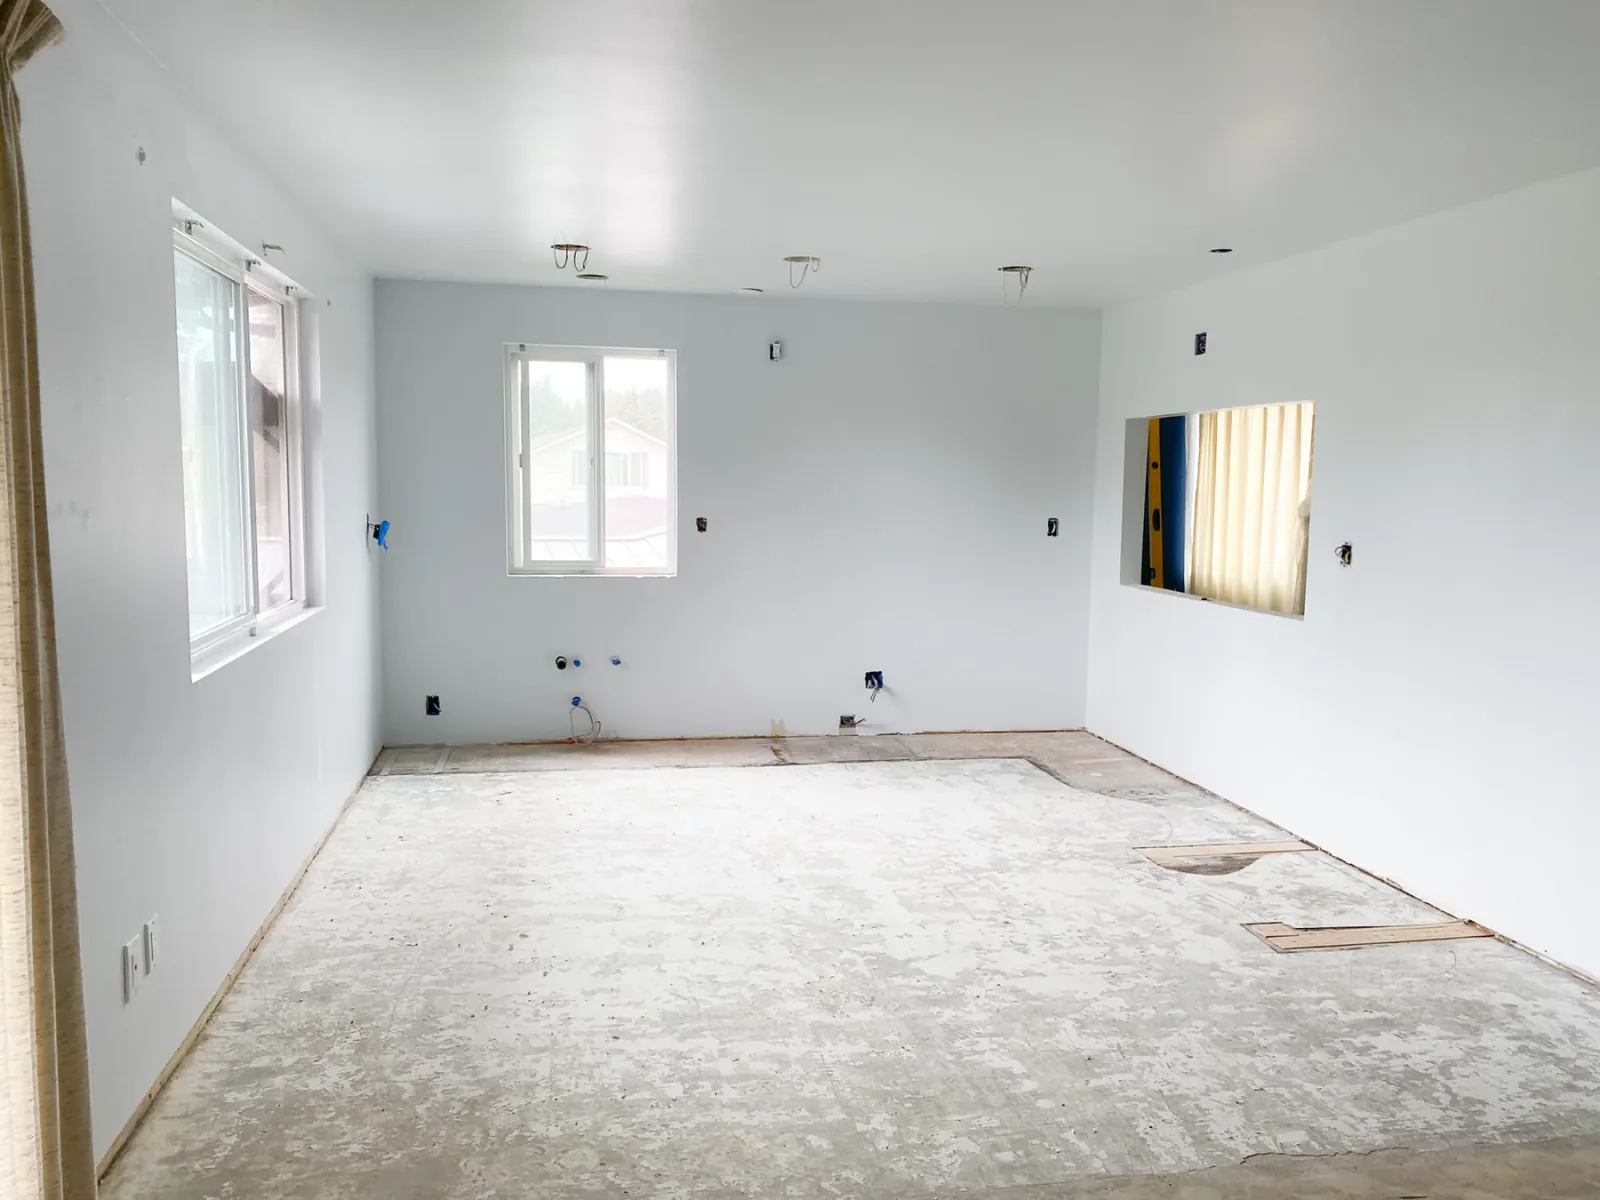 Drywall & Mechanical Rough-Ins Complete
Drywall & Mechanical Rough-Ins CompleteDuring · Rough-Ins & Drywall
Closing the Walls Around New Systems
After the electrical and plumbing upgrades were completed, new drywall enclosed the revised walls and ceiling. Texture, primer, and paint created a finished shell, while the exposed subfloor was prepared for the new LVP.
The room could then move into cabinetry, appliances, countertops, backsplash, and final fixture installation.
After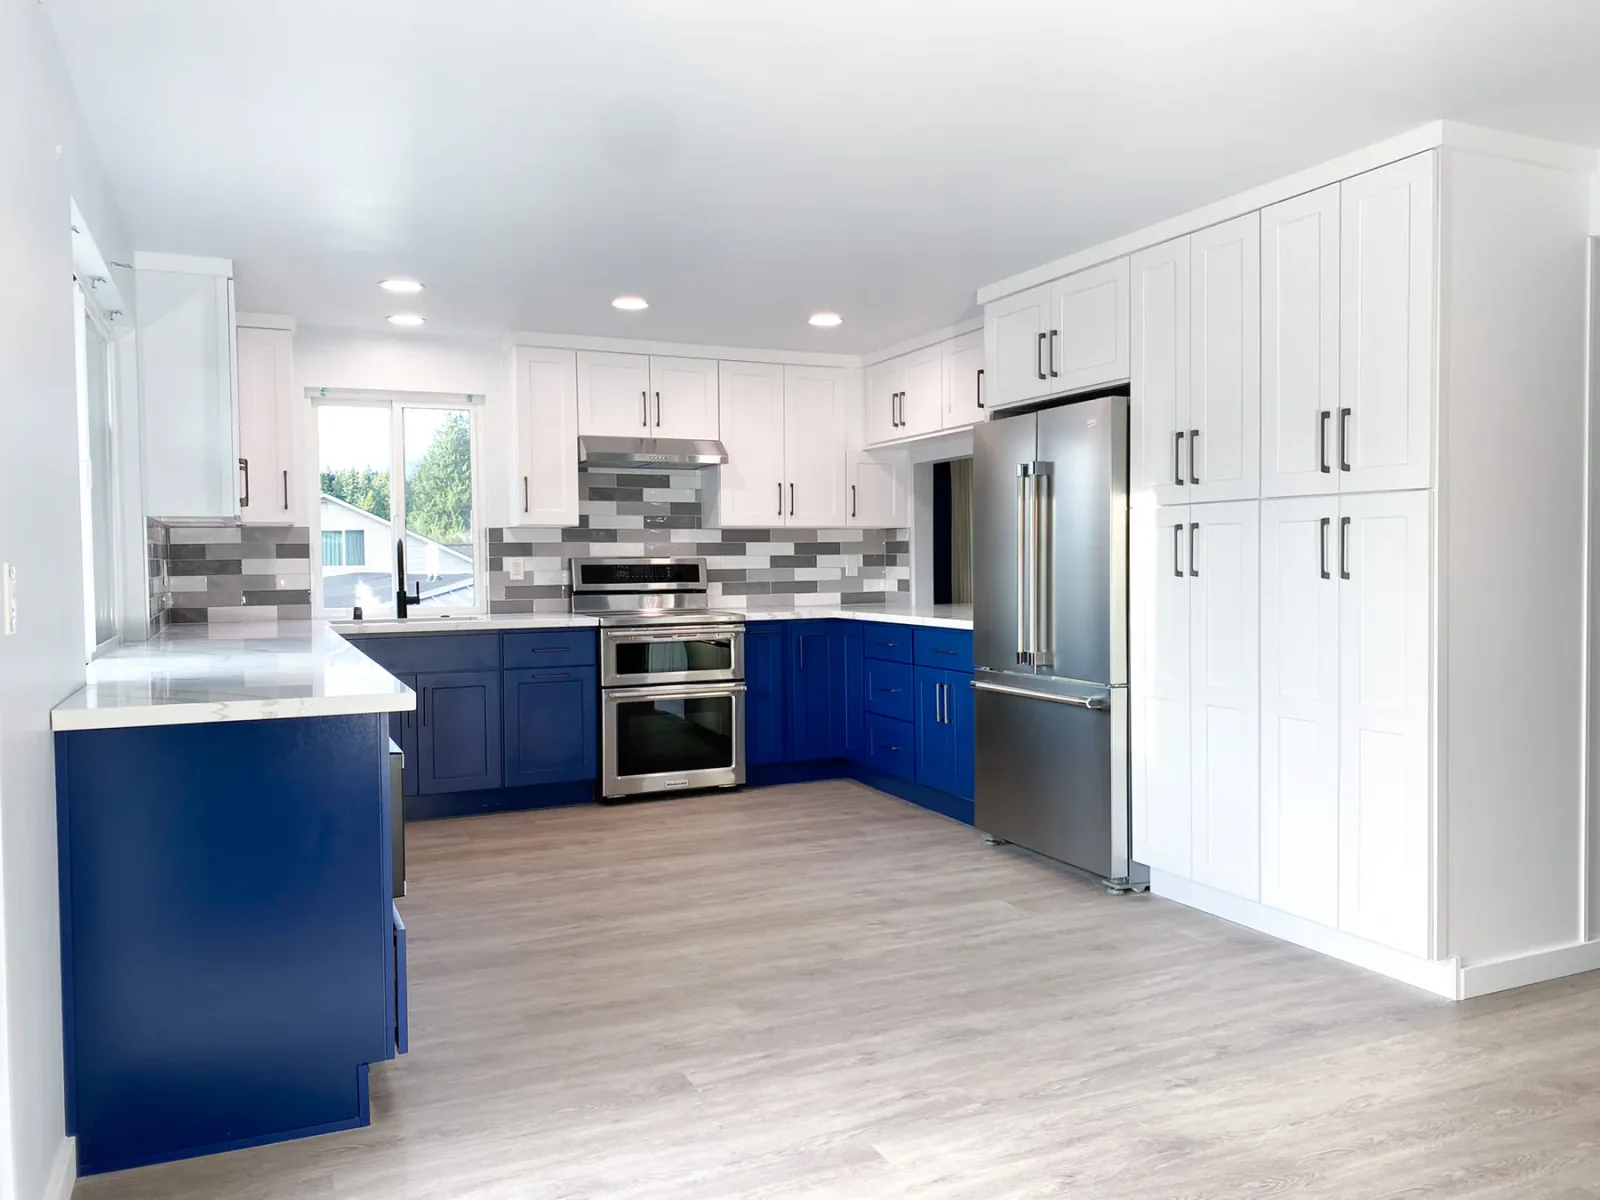 The Final Reveal
The Final RevealAfter · First Completed View
The Plan Comes Together
Blue and white cabinetry now wraps the room with full-height pantry storage and stainless appliances. The family-room pass-through brings a clearer sightline through the kitchen, while the tiled backsplash, recessed lighting, and light LVP flooring finish the updated space.
04
Before · During · After
One Viewpoint, Three Stages
The same sightline shows the layout change clearly, from the old kitchen through active construction to the completed blue-and-white design.
Before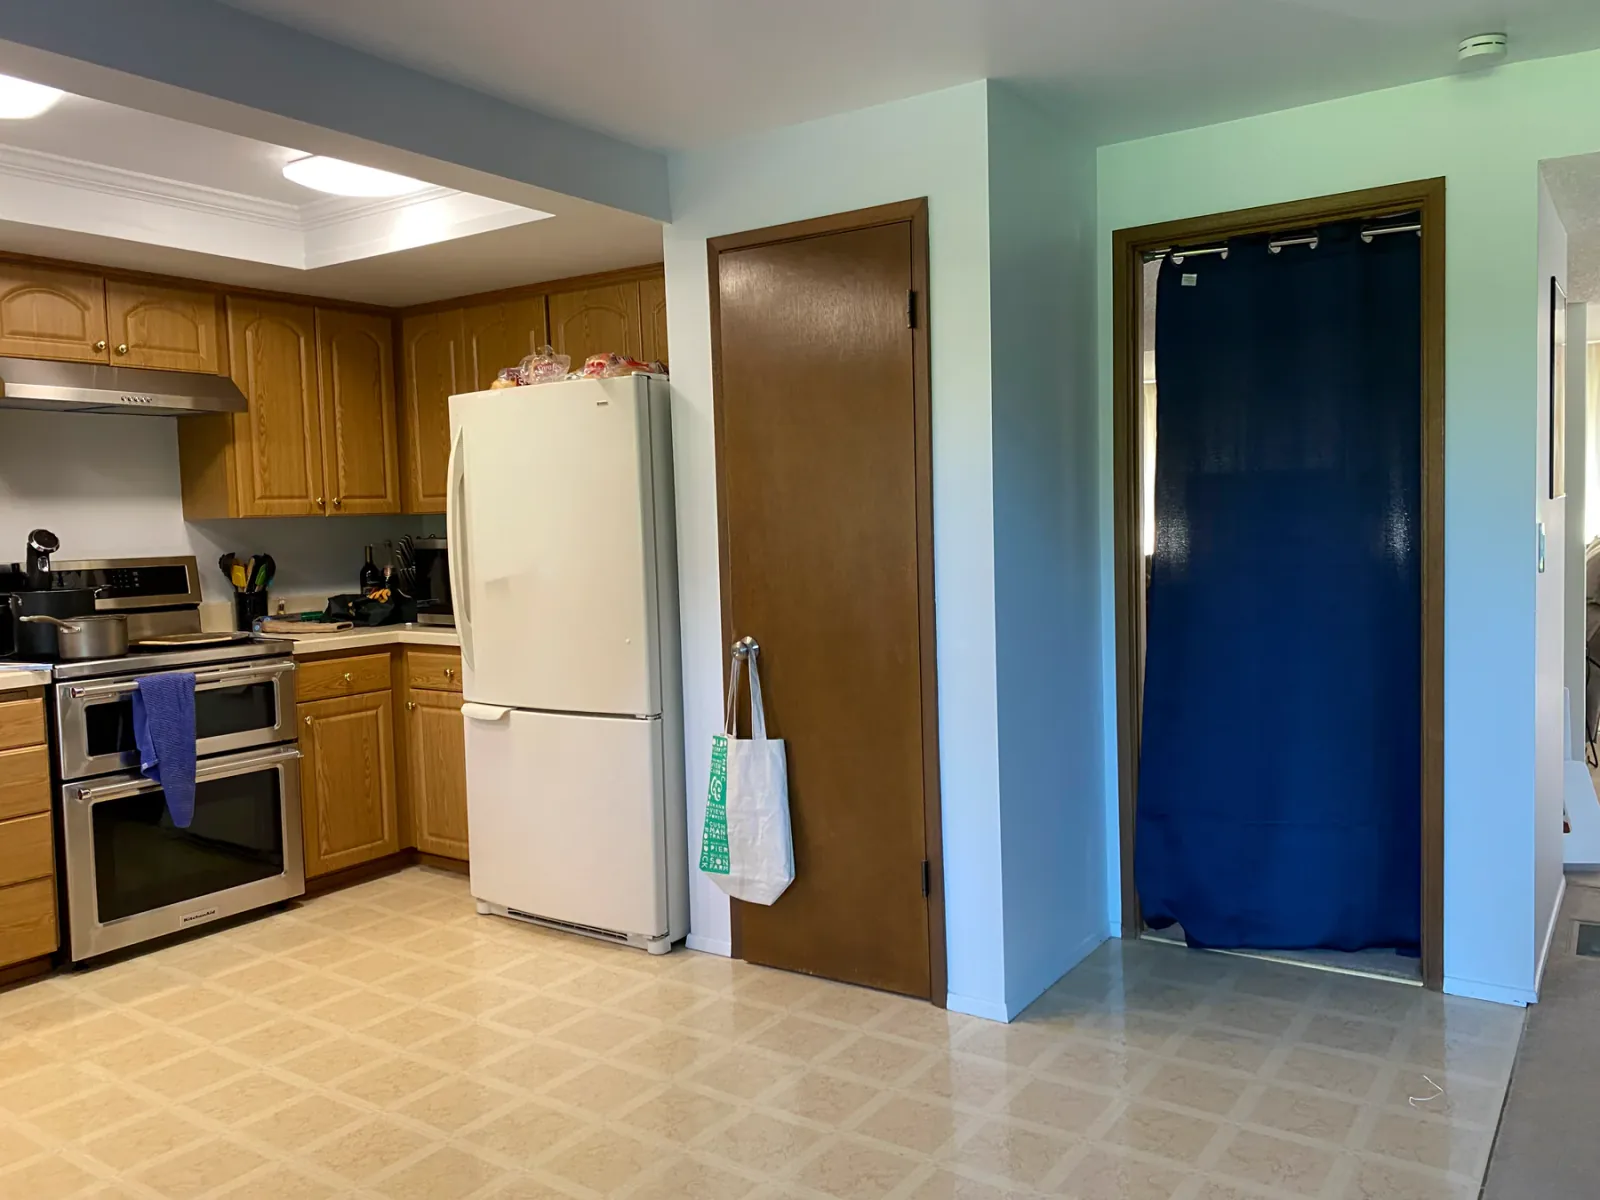 Old Kitchen
Old KitchenDuring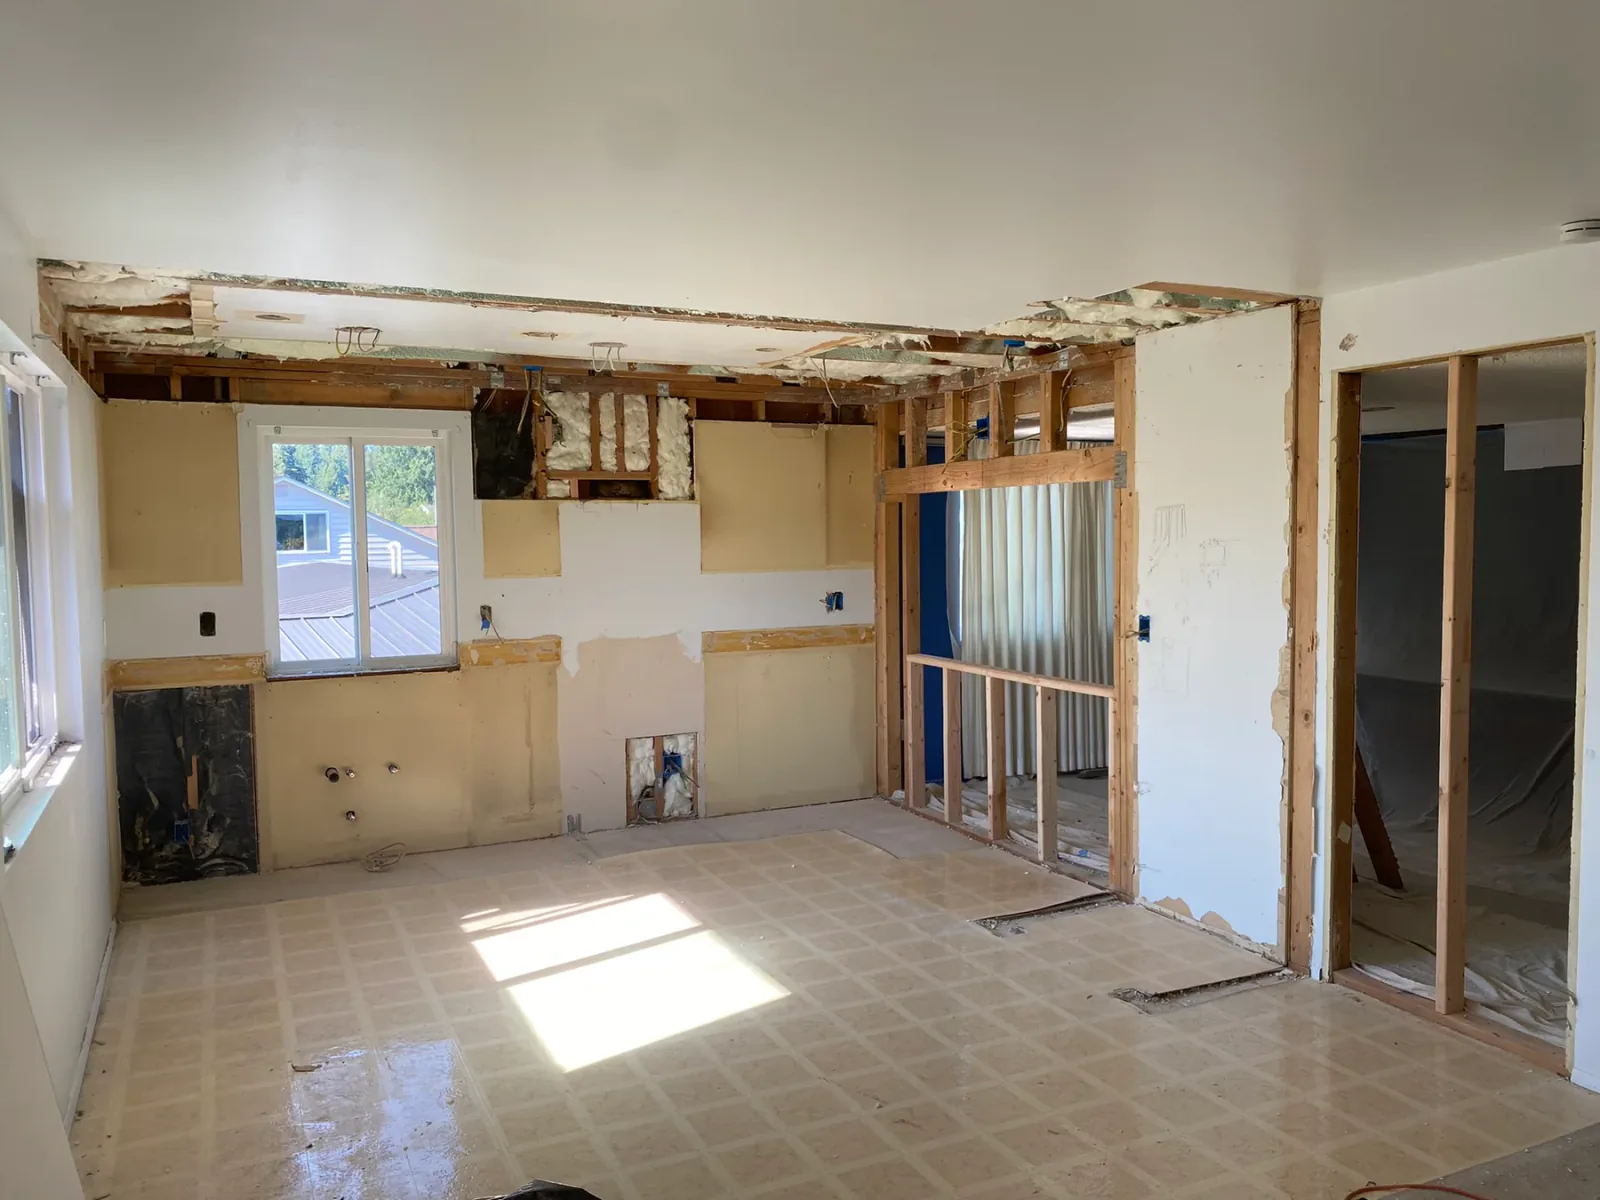 Layout Opened
Layout OpenedAfterThe Completed Kitchen
The Completed Kitchen05
Project Timeline · Video
Walk Through the Remodel
Before, During & After
Walk through the kitchen before construction, during the rebuild, and after the final installation.
A vertical walkthrough records the old kitchen as removal begins, showing the flooring, perimeter walls, windows, and separated room layout.
A vertical walkthrough follows the open kitchen shell, exposed ceiling work, new family-room pass-through framing, and prepared wall openings.
A vertical walkthrough moves from the full-height pantry and stainless refrigerator to the two-tone cabinetry, range wall, tiled backsplash, and finished pass-through counter.
06
Completed Project · Gallery
The Finished Kirkland Kitchen
Blue and white cabinetry, full-height pantry storage, and updated work surfaces give the kitchen a fresh, coordinated finish. The new pass-through connects it to the family room, while the tiled backsplash and light LVP flooring complete the space.
Completed Kitchen Gallery
Select any photograph to open a larger view and move through the completed kitchen.
After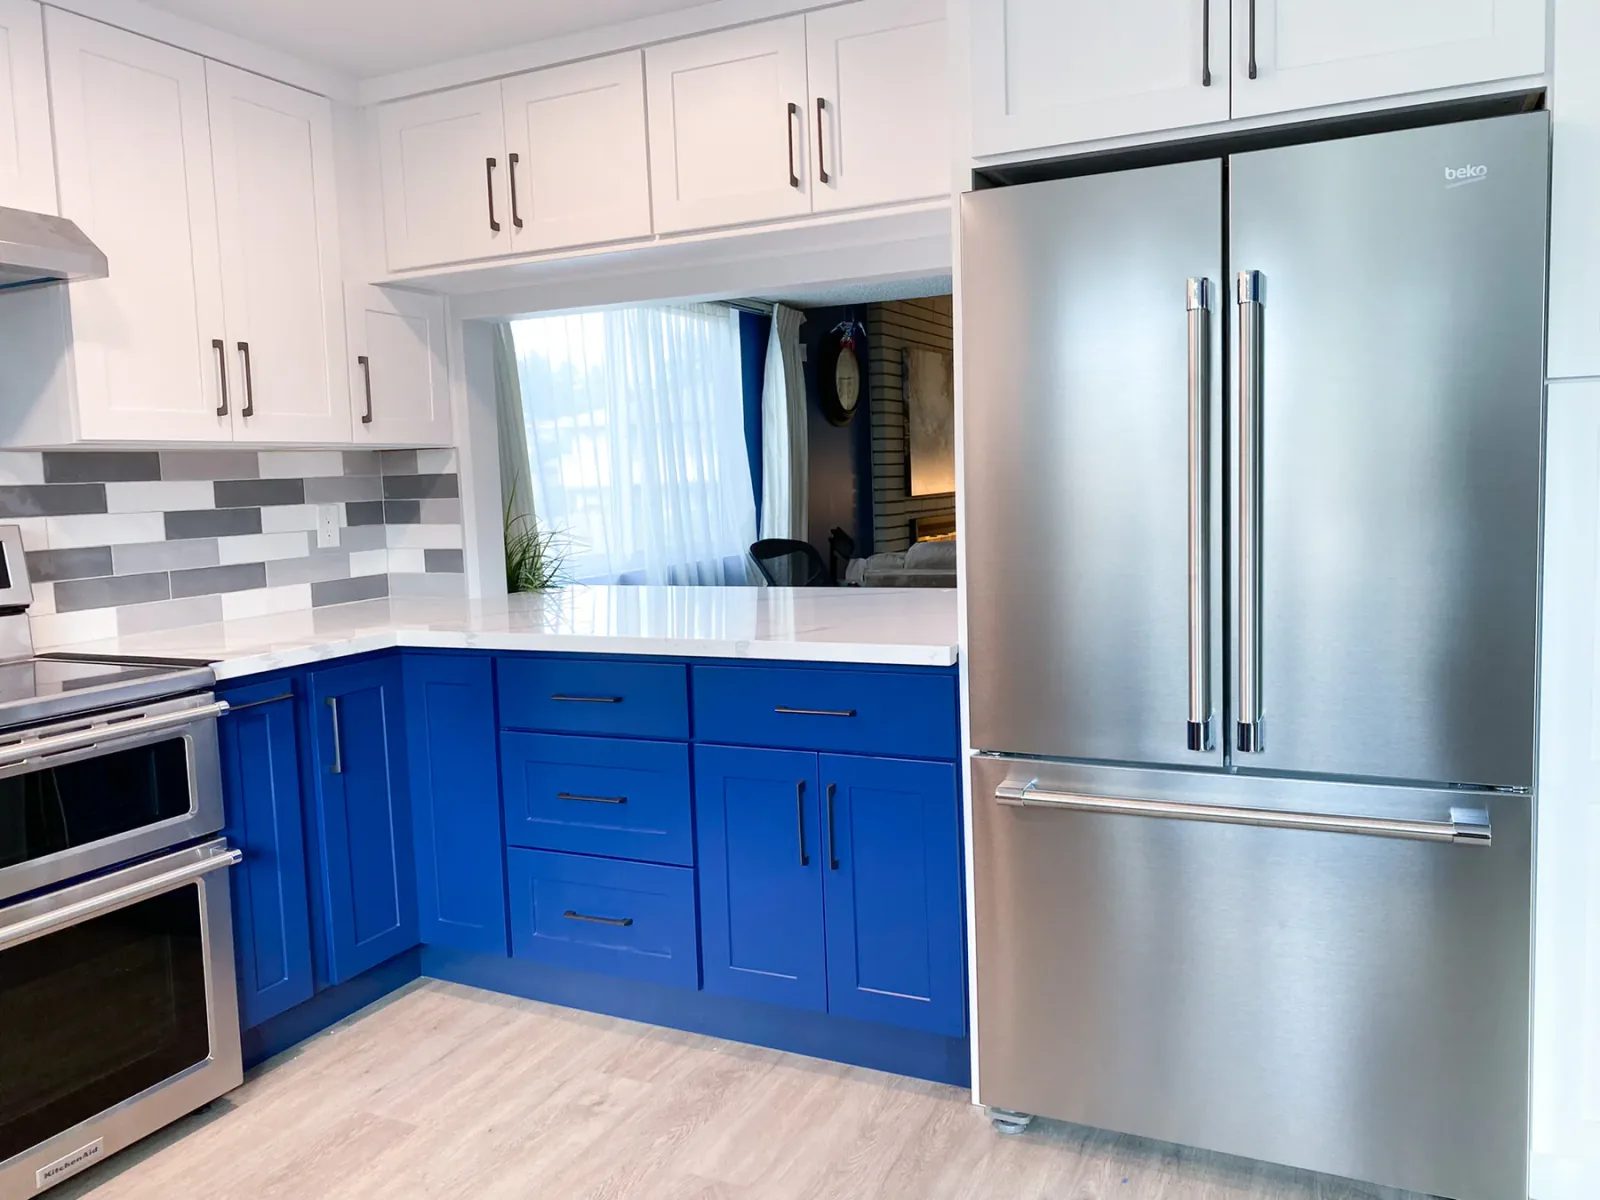 Two-Tone Cabinetry & Refrigerator
Two-Tone Cabinetry & RefrigeratorAfter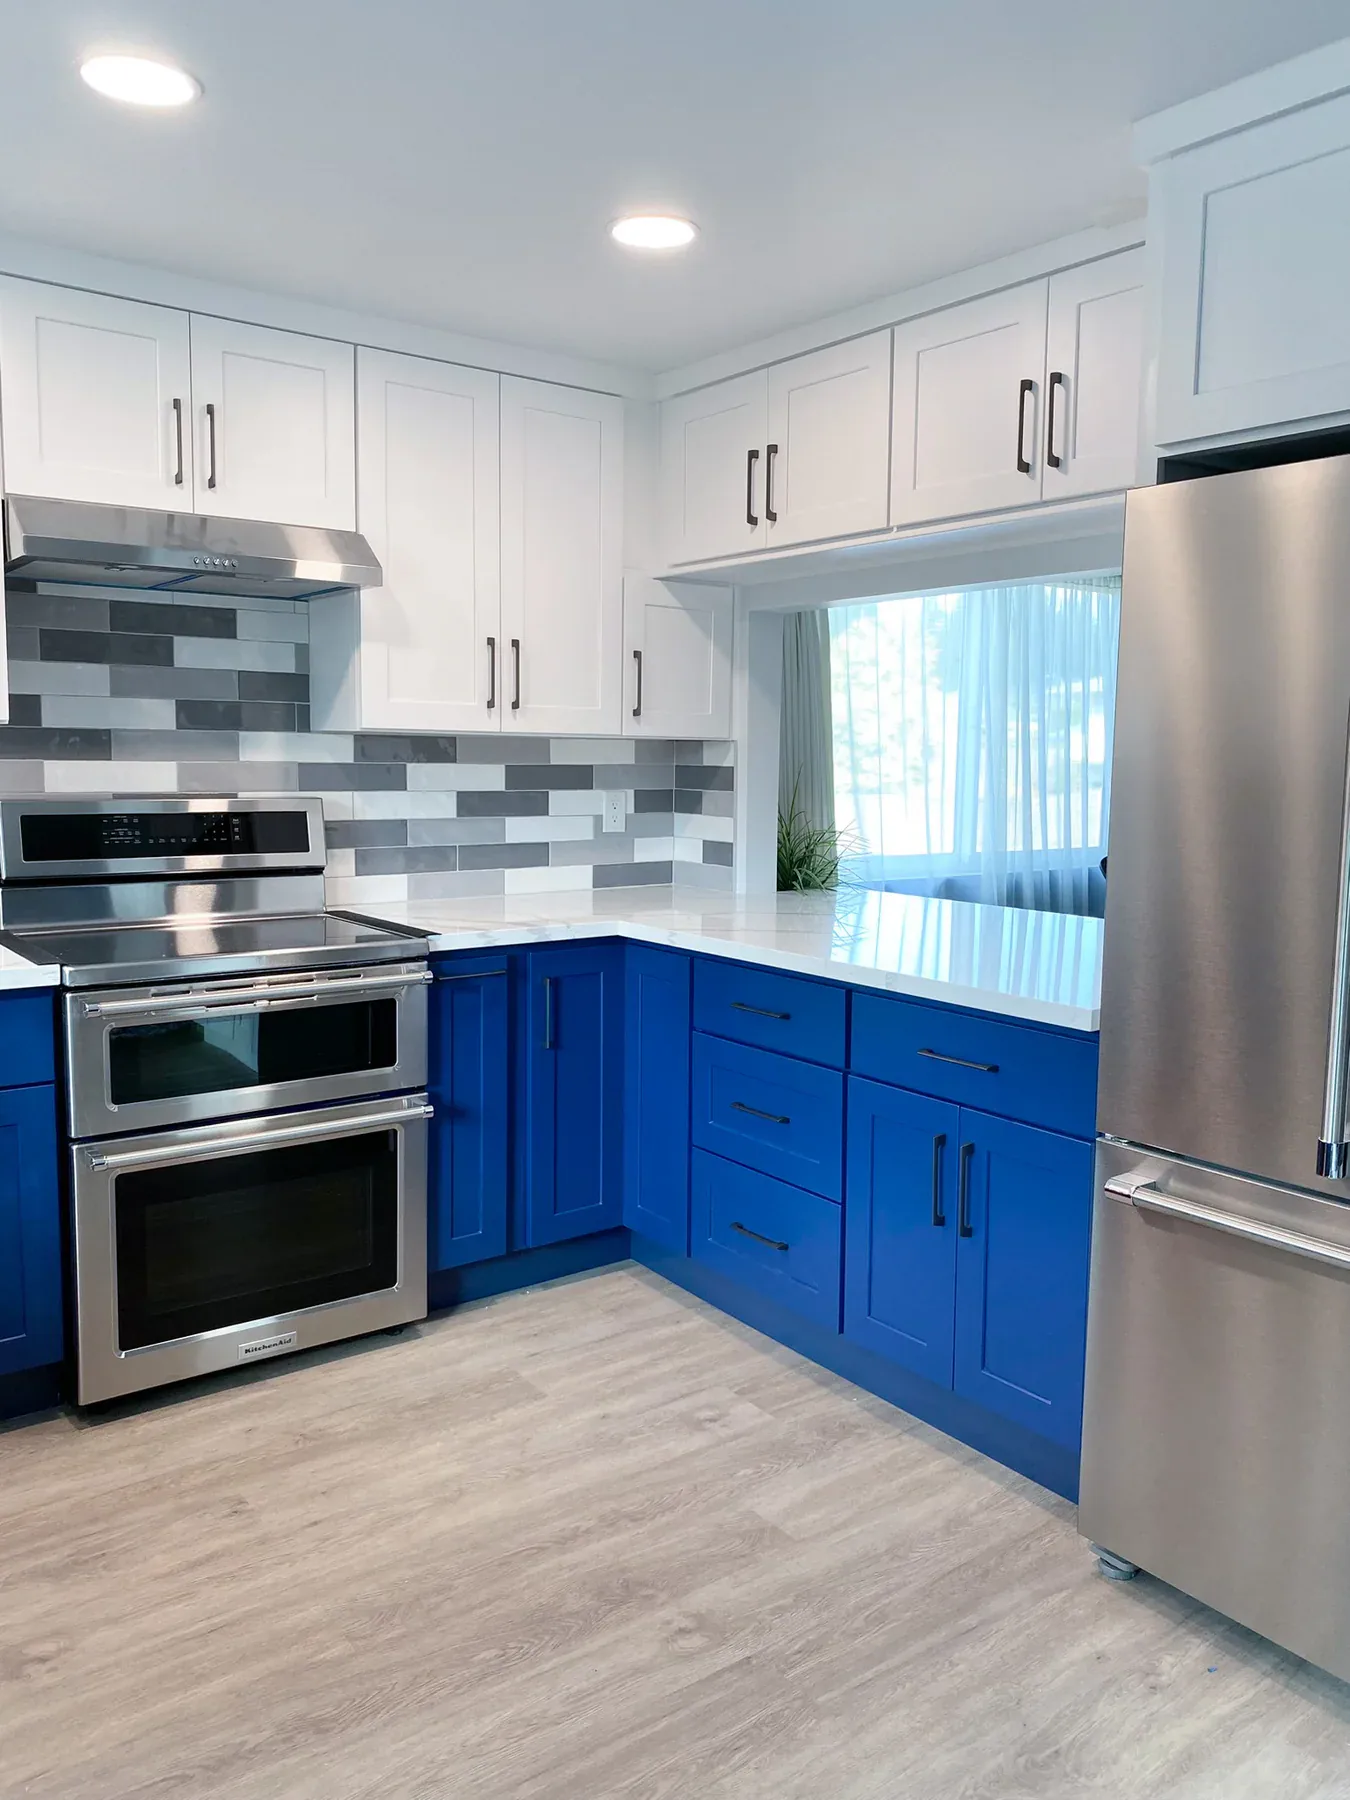 Range, Cabinetry & Pass-Through
Range, Cabinetry & Pass-ThroughAfter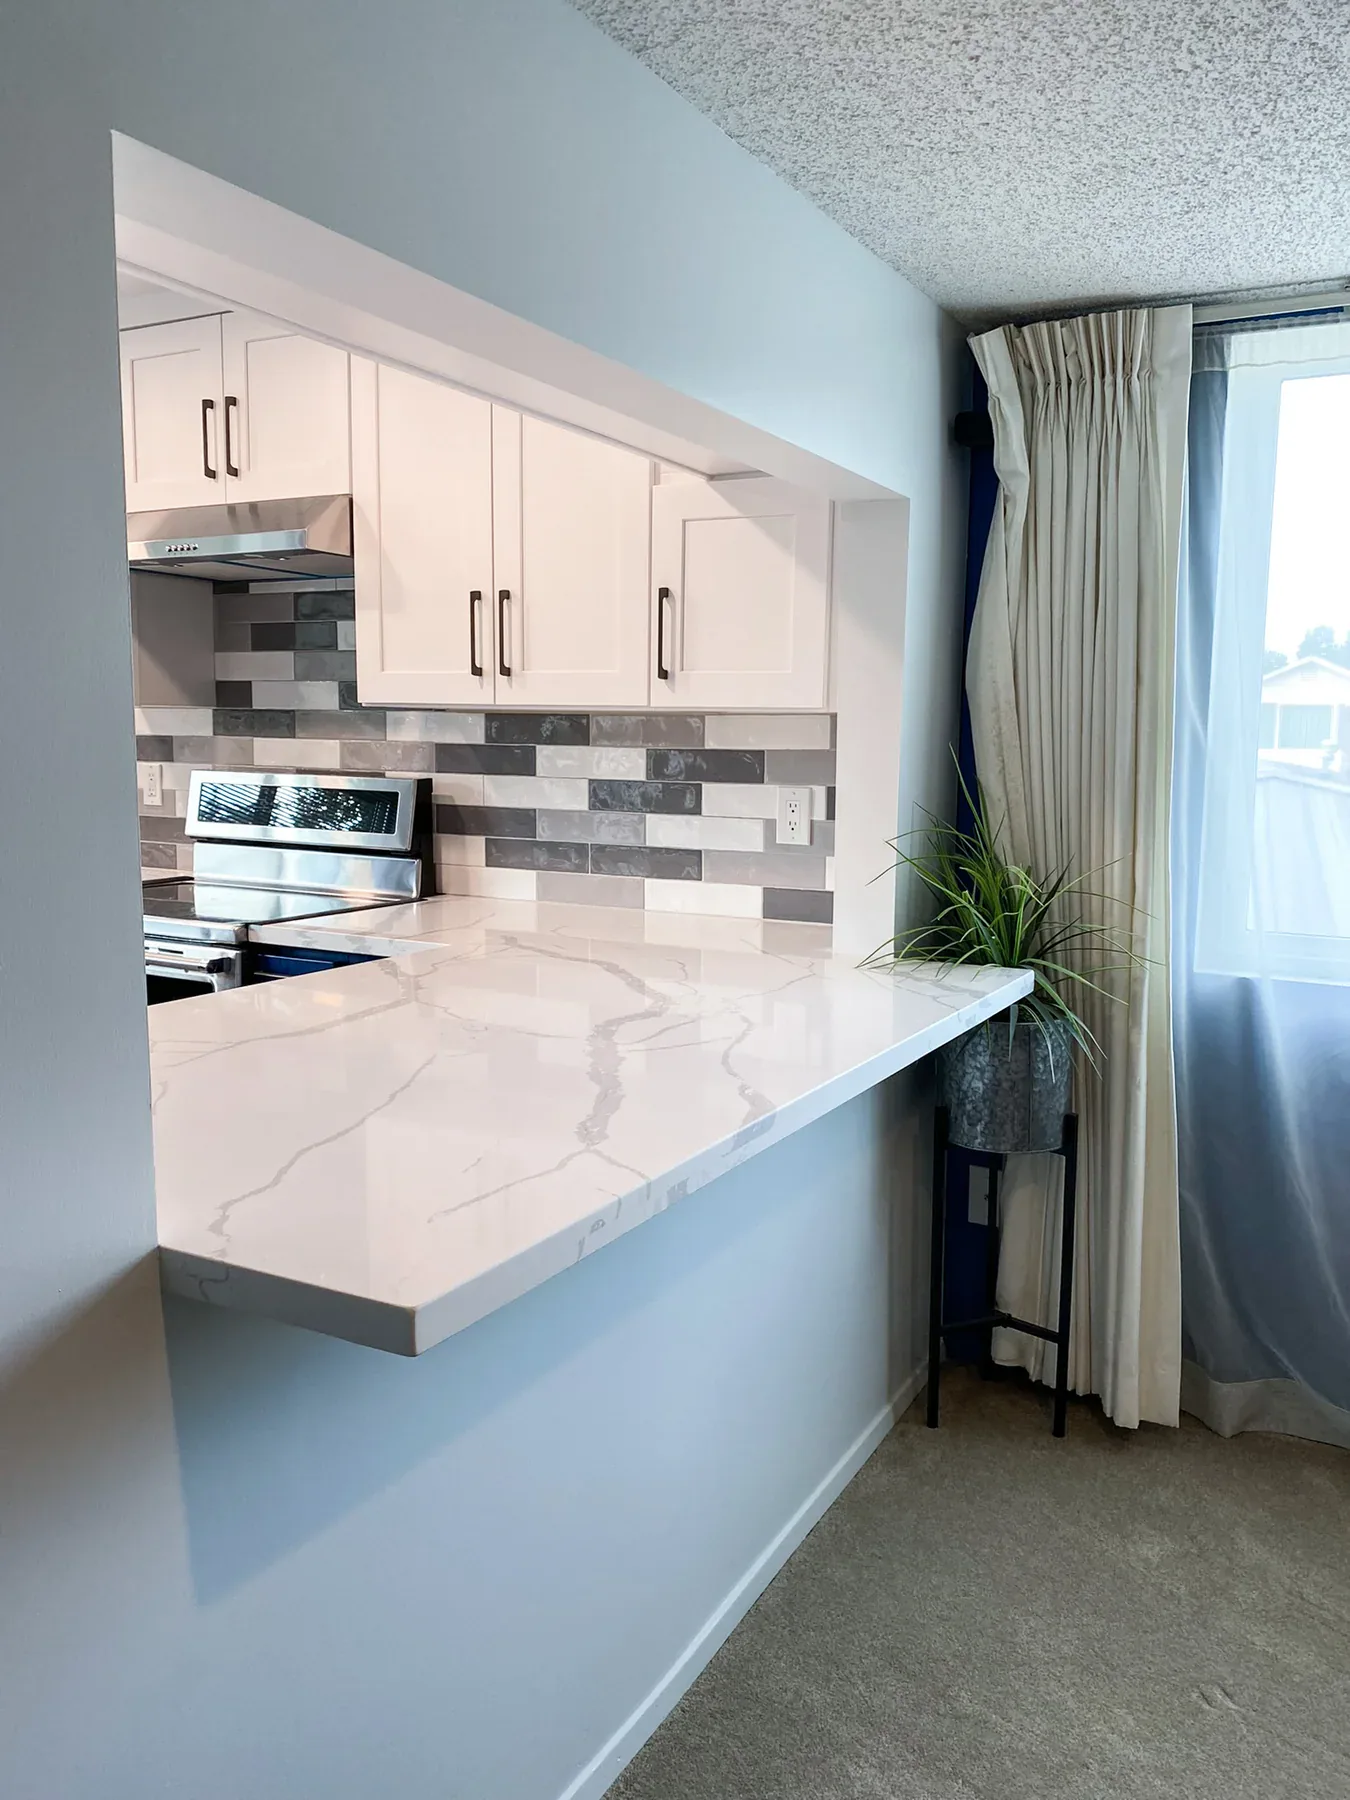 Countertop & Pass-Through Detail
Countertop & Pass-Through DetailAfter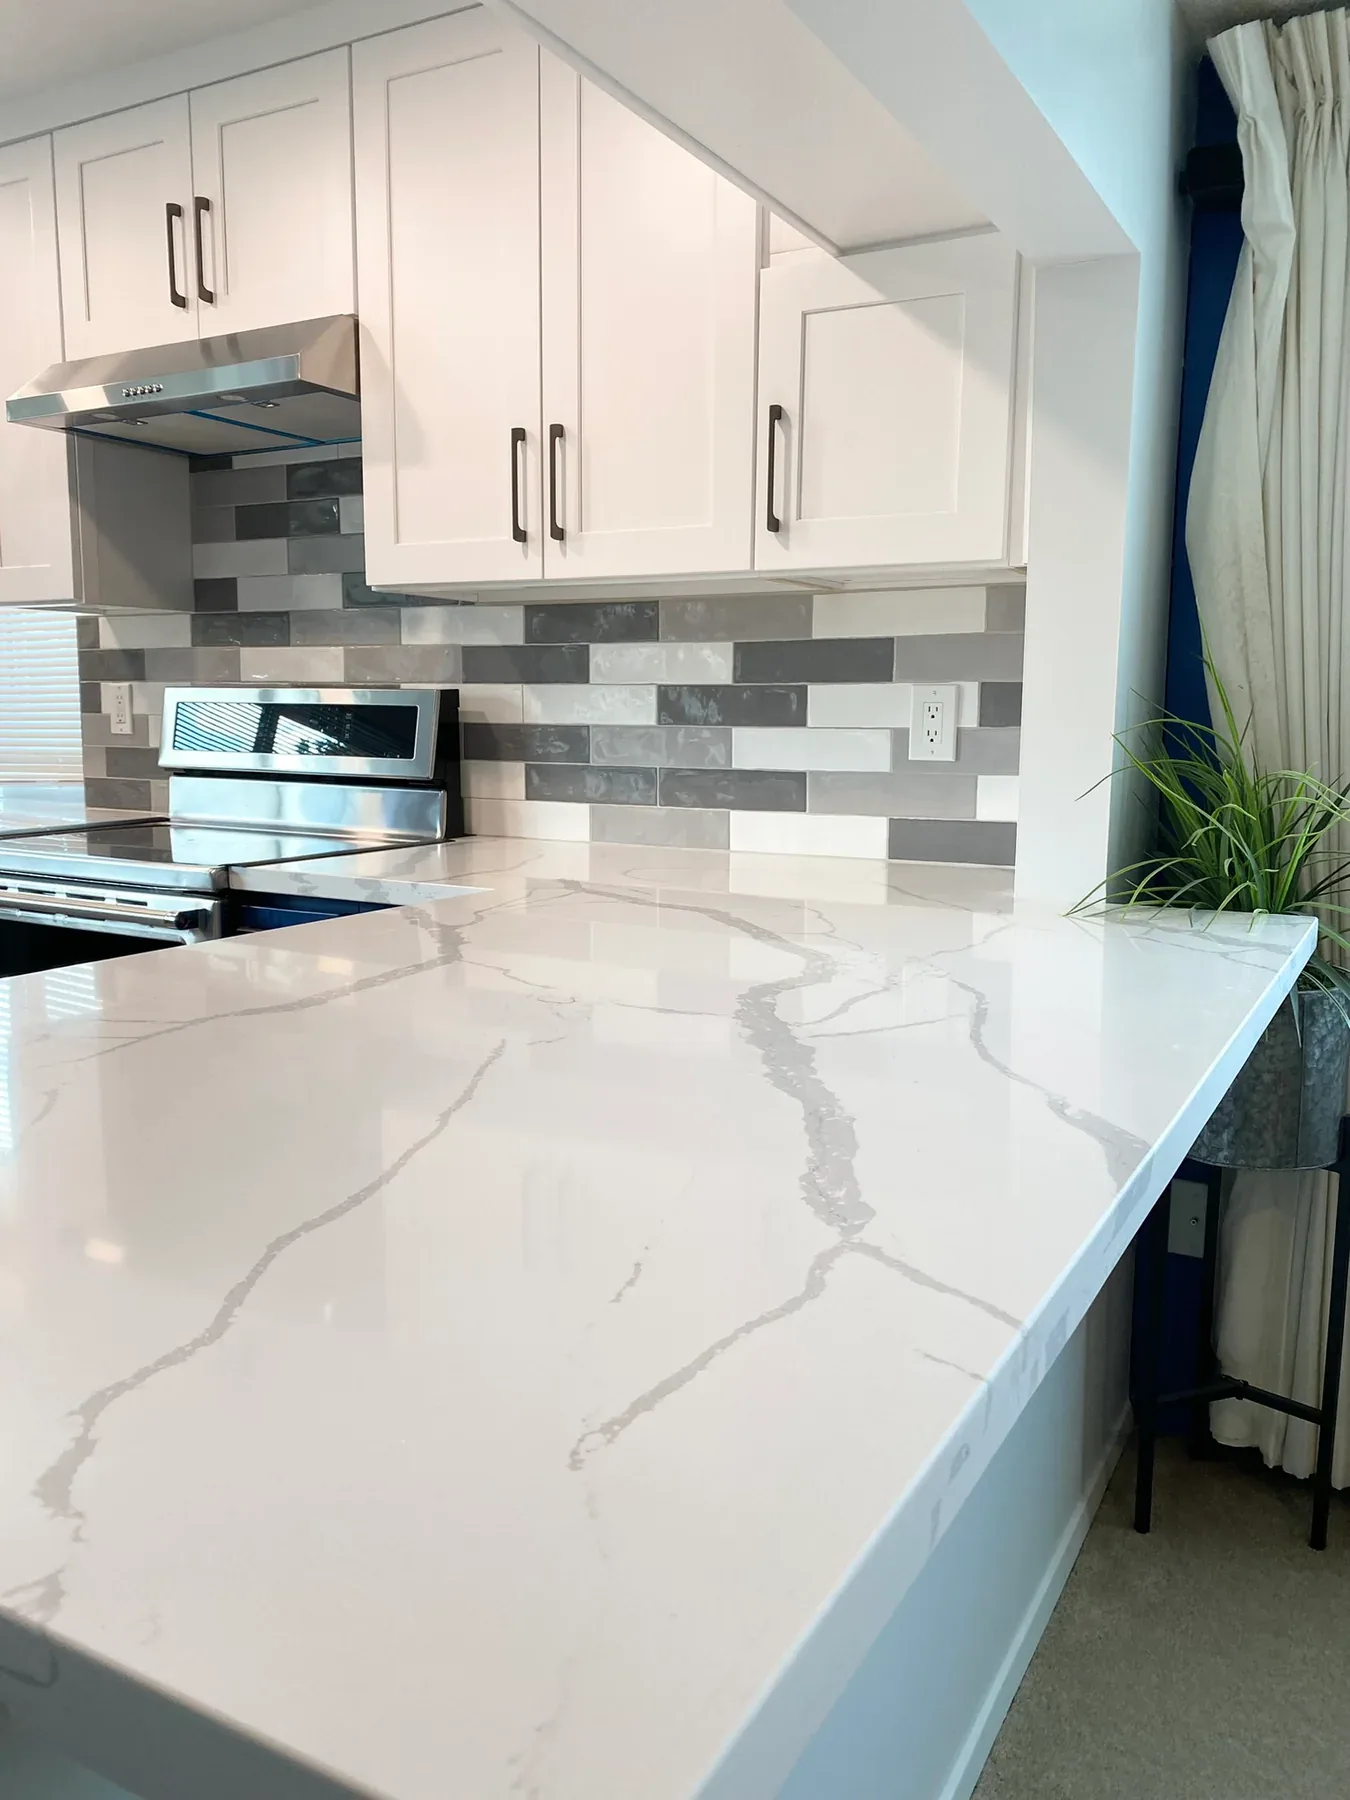 Countertop & Backsplash Detail
Countertop & Backsplash DetailAfter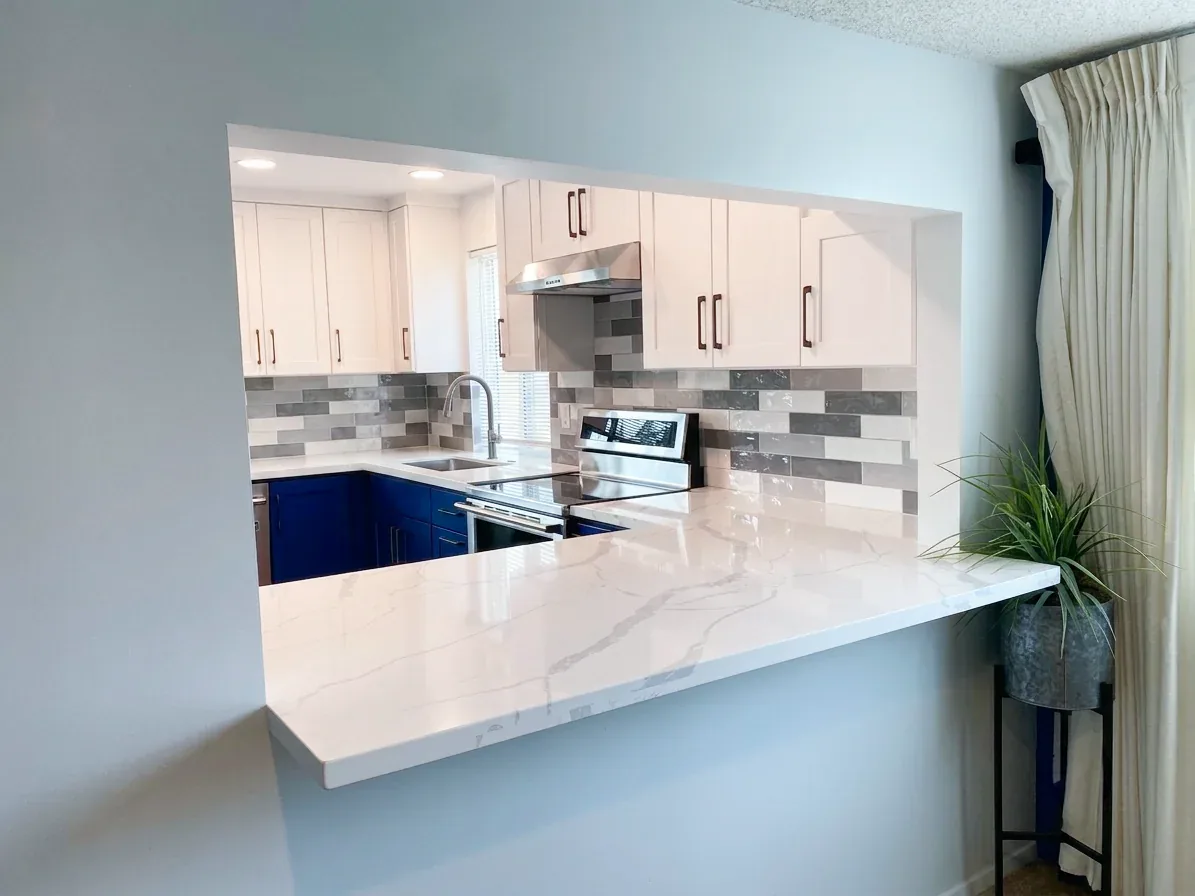 Family-Room Pass-Through
Family-Room Pass-ThroughAfter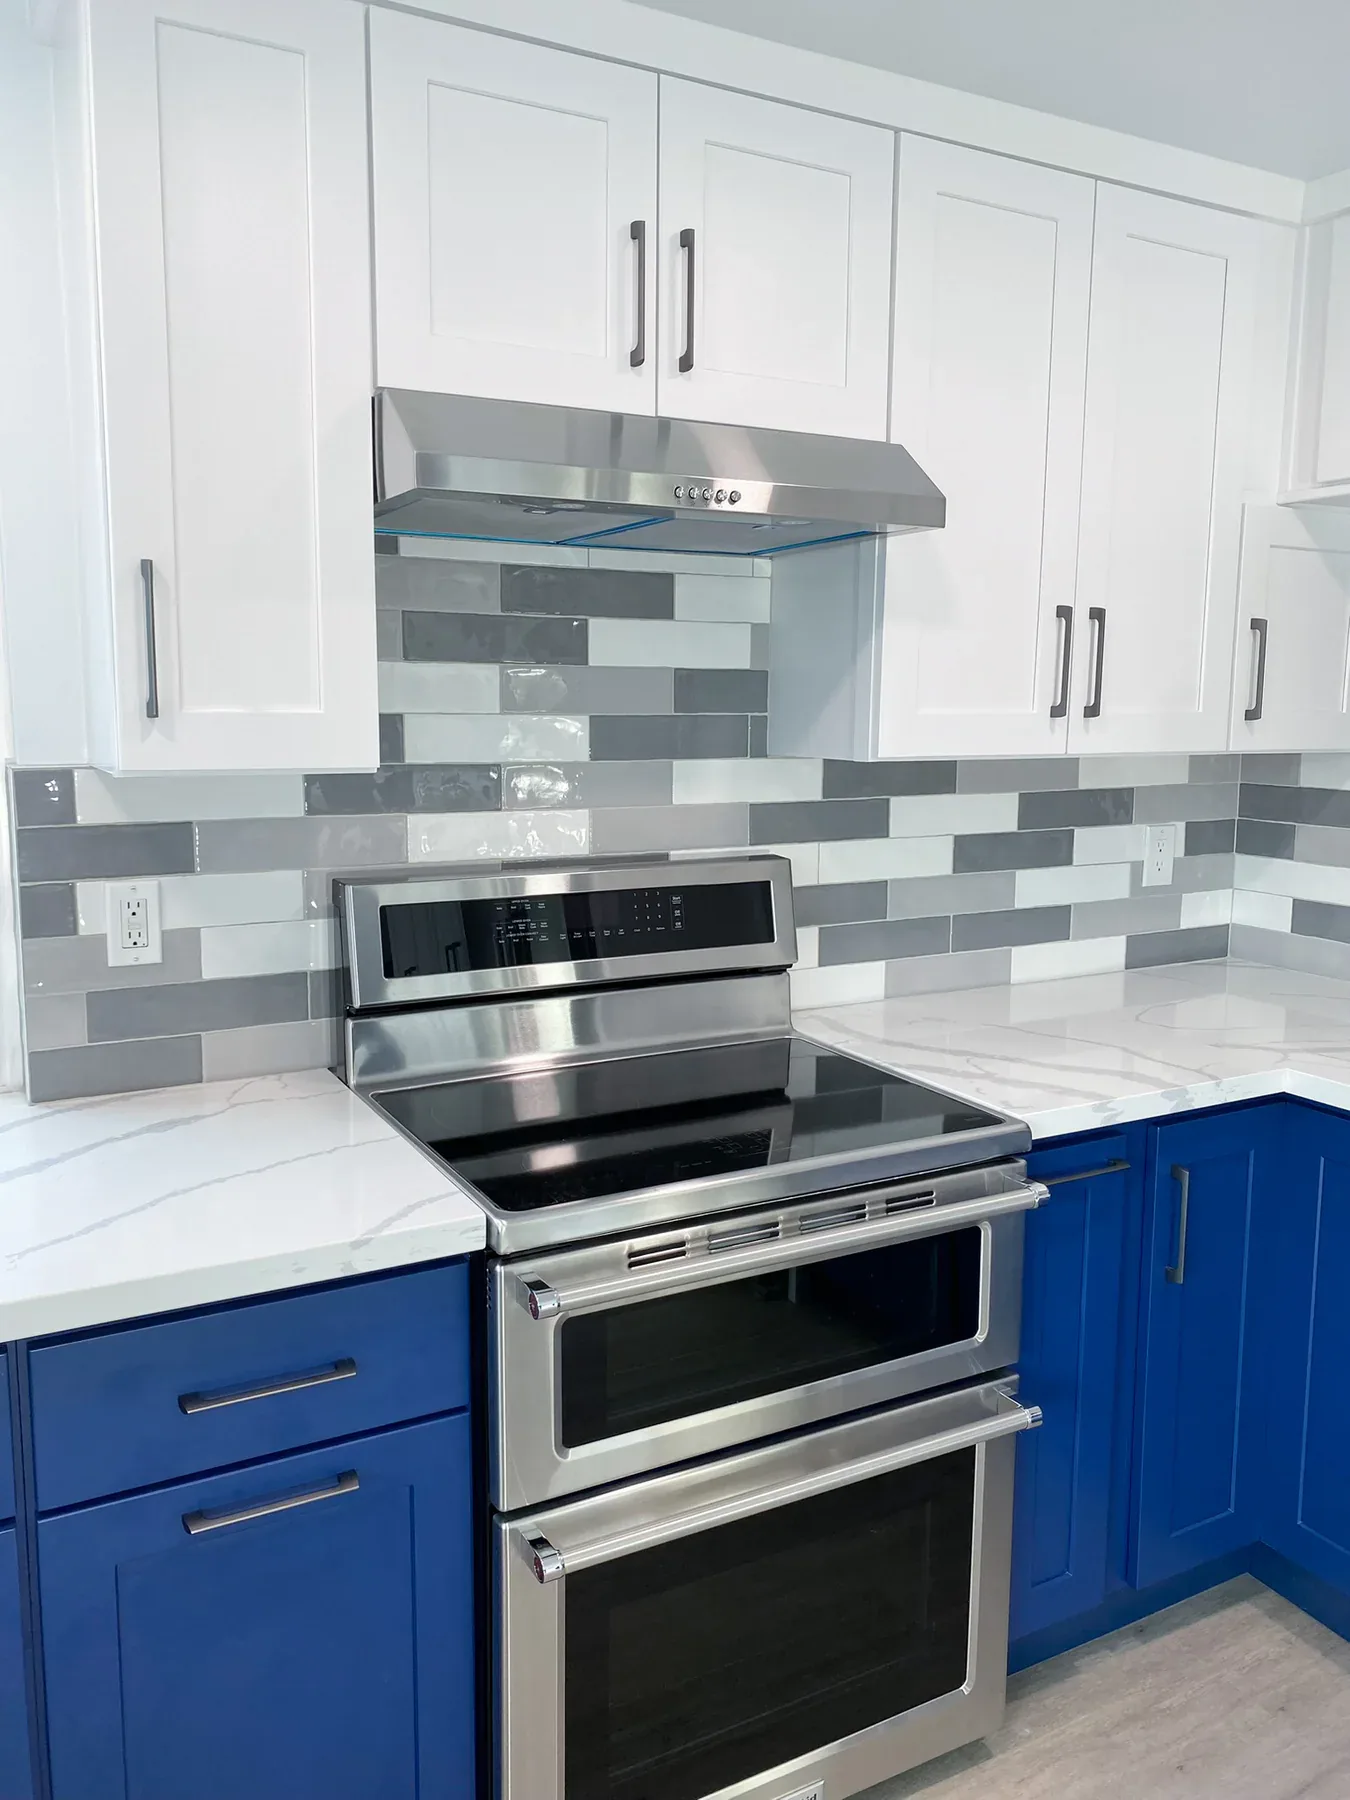 Range & Tiled Backsplash
Range & Tiled BacksplashAfter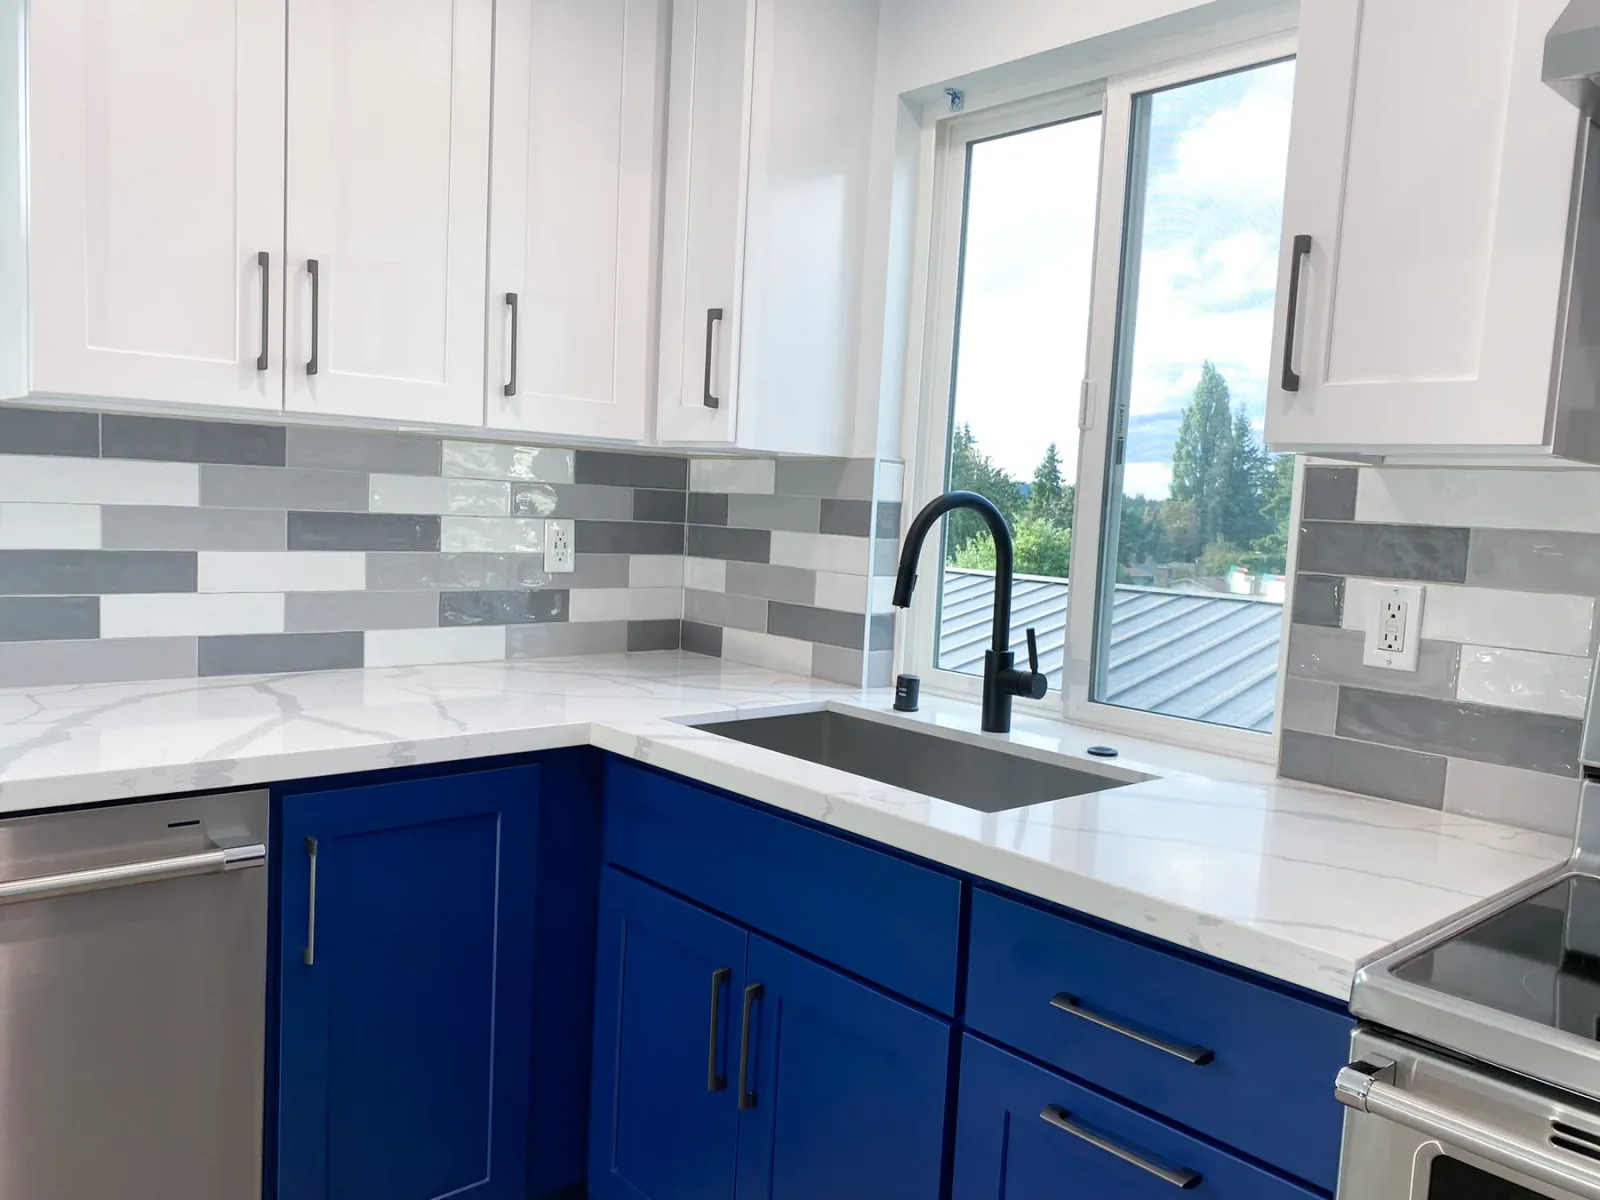 Sink & Blue Base Cabinets
Sink & Blue Base CabinetsAfter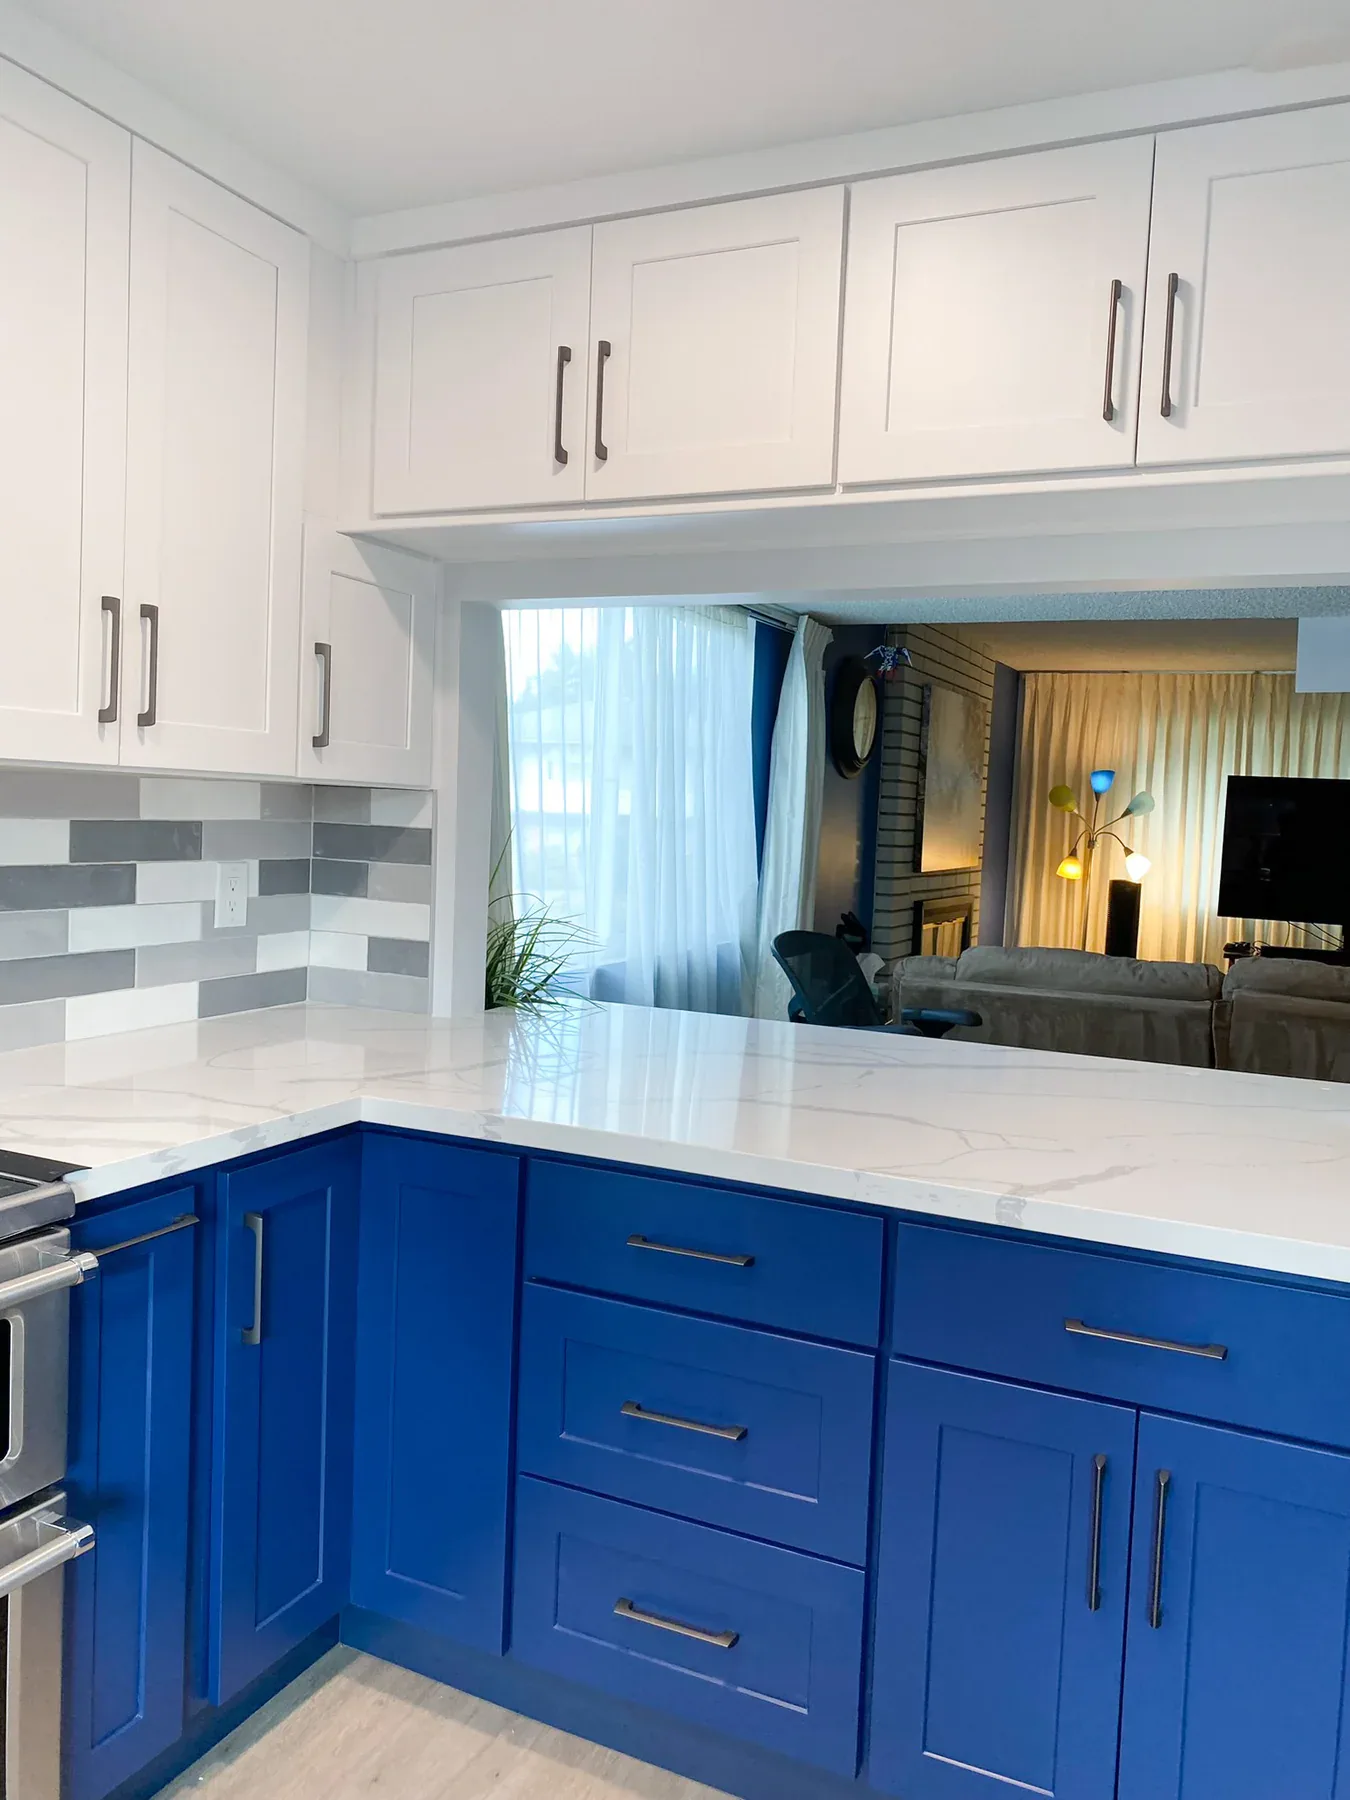 Pass-Through Counter & Family Room
Pass-Through Counter & Family RoomKitchen Remodeling in Kirkland
Planning a Kitchen Remodel in Kirkland?
Discuss your plans with a kitchen remodeling team in Kirkland. Contact our team to talk through your kitchen remodel project.
Discuss Your ProjectMore Projects